Upcycled Baby Doll Dress

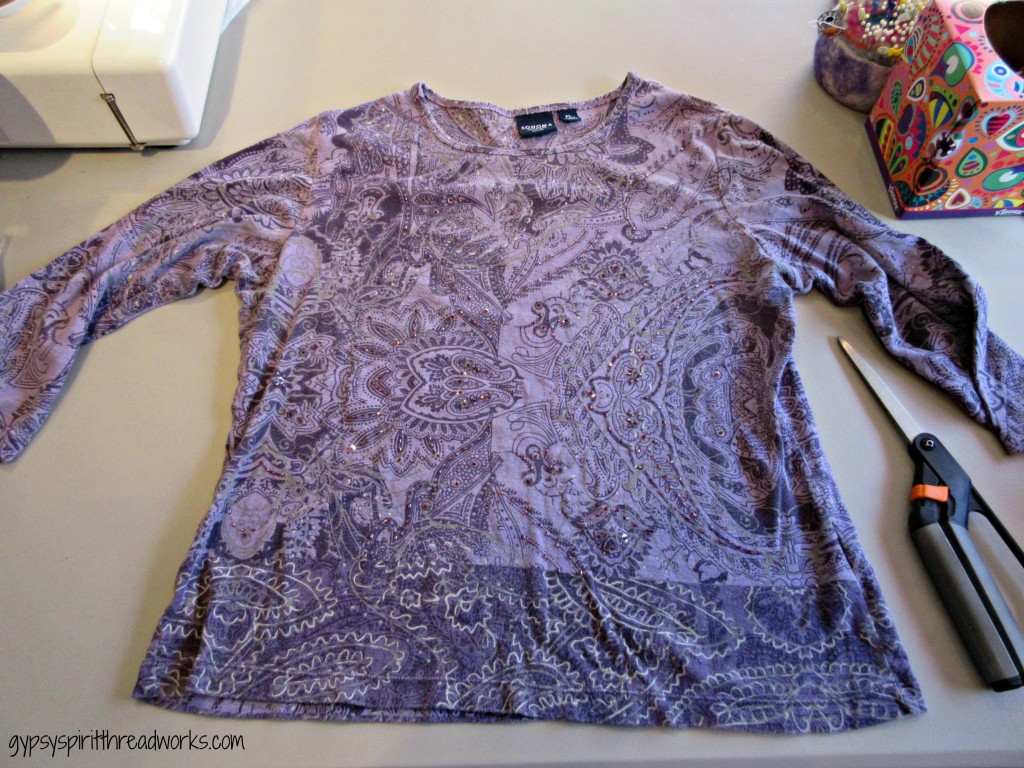
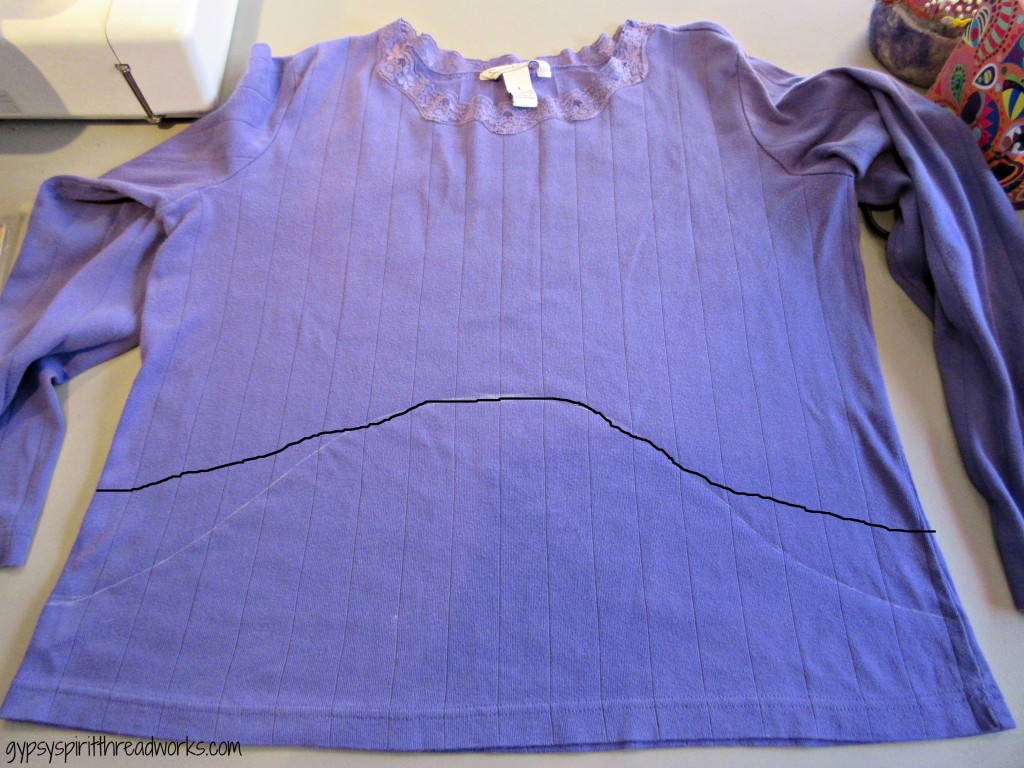
I like flowy tunic tops that I can wear with leggings (and boots in winter). I had a long sleeved lavender rib knit top by French Laundry in size large which was loose and comfy, but it had a few oily food stains on the lower front. I decided to make a baby doll dress or tunic from it, as it has lace detailing around the neck which makes it feminine. All three of these tops came from thrift stores. The whole project took one hour from start to finish.

Baby doll dress 1

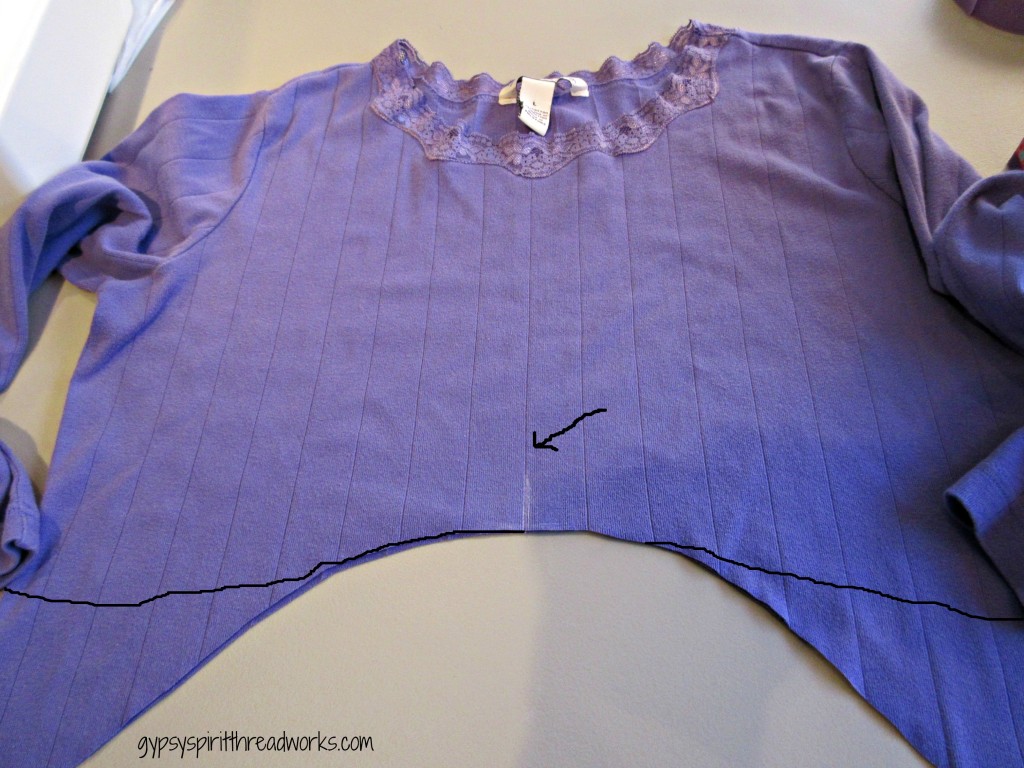
I put the top on and marked a line a few inches under my bustline, where I wanted the seam. I laid the shirt out on my work table and drew my cutting line in chalk. I later learned that my original curve was too deep, so I have corrected my original line in black. Cutting curved lines instead of straight across is more figure flattering and less boxy. I would recommend not cutting your sides any lower than about 2-3 inches from the line at the middle. (I had to unpick my serger seams at the sides and cut out the excess fabric because it did not hang right. It might have worked if I was attaching a woven fabric skirt, but the knits just weren’t having it.)

Baby doll dress 2

Next I took a top with bead and sequin embellishment by Sonoma Life+Style in size petite large, and prepared it for becoming half of the attached skirt.

Baby doll dress 3

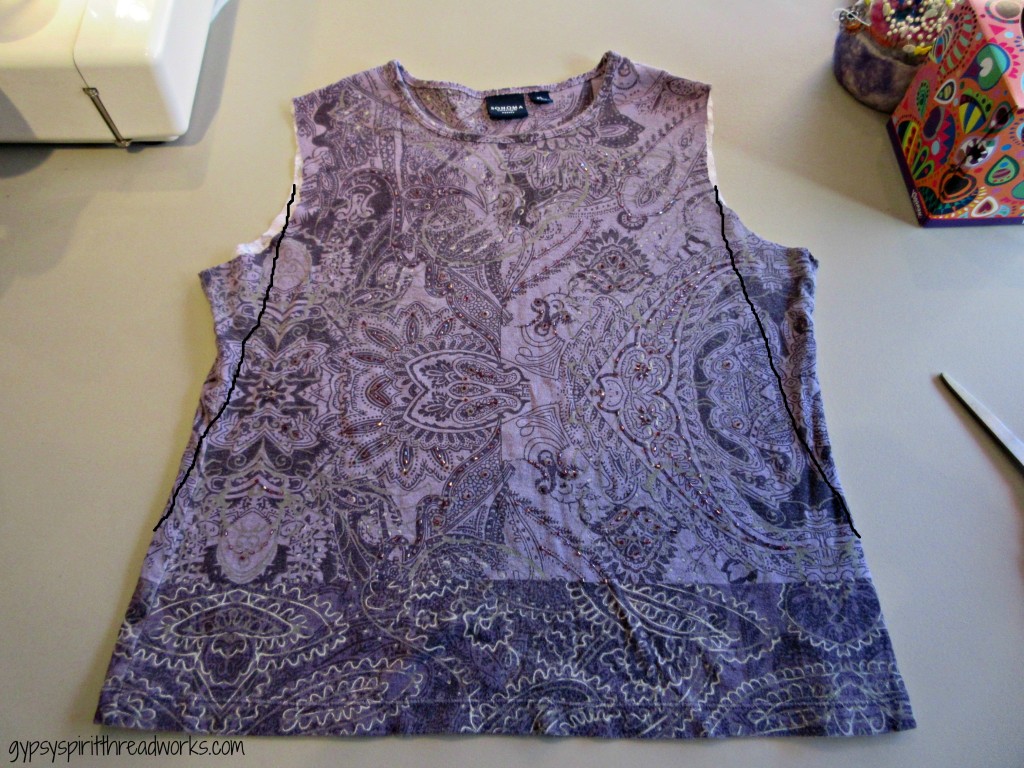
I cut off the sleeves so that the serged seam was still attached to the sleeve. Then I trimmed both sides to get rid of the underarm area.

Baby doll dress 4

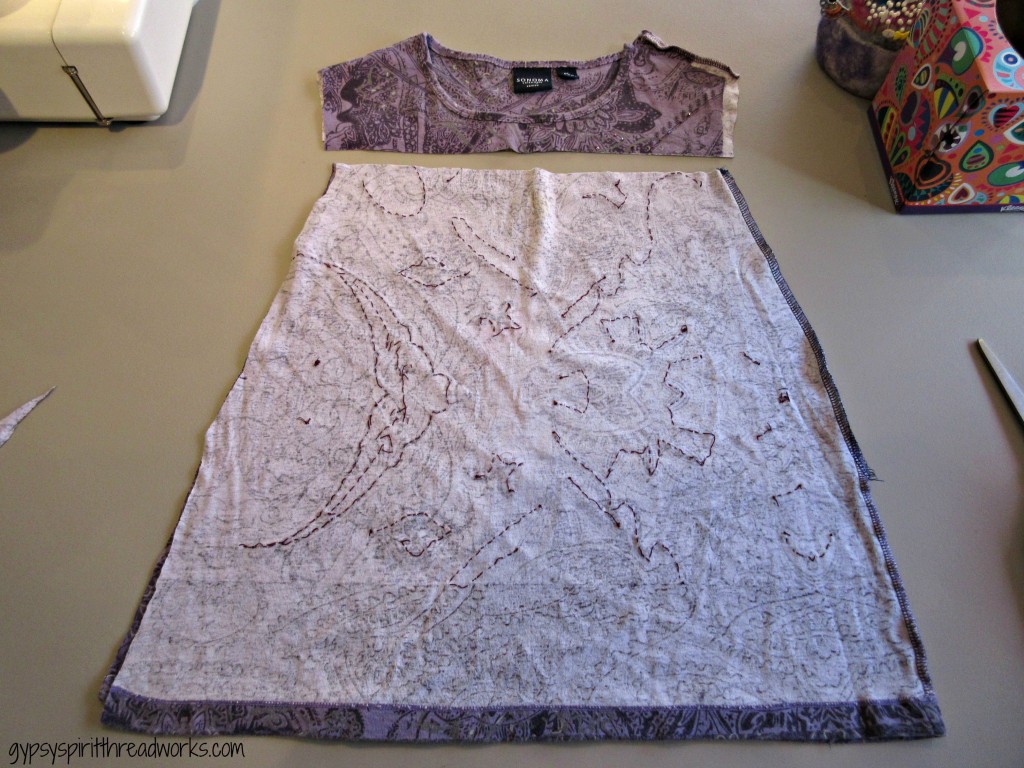
I cut the top part of the shirt off about an inch or so below the neckline. On the right you will see where my serged seam meets the original seam. I stitched from the bottom up, easing the fabric toward the top. I left the other side open. The visible stitching on the front is where the beads and sequins have been hand sewn on. Make sure to remove any embellishments along the seam lines. I thought I got them all, but I missed one and it held up my serger stitching. (You also don’t want to risk damaging your machine or your eyes, if a needle breaks.) The former embellished front of the top will now be the center front of the dress.

Baby doll dress 5

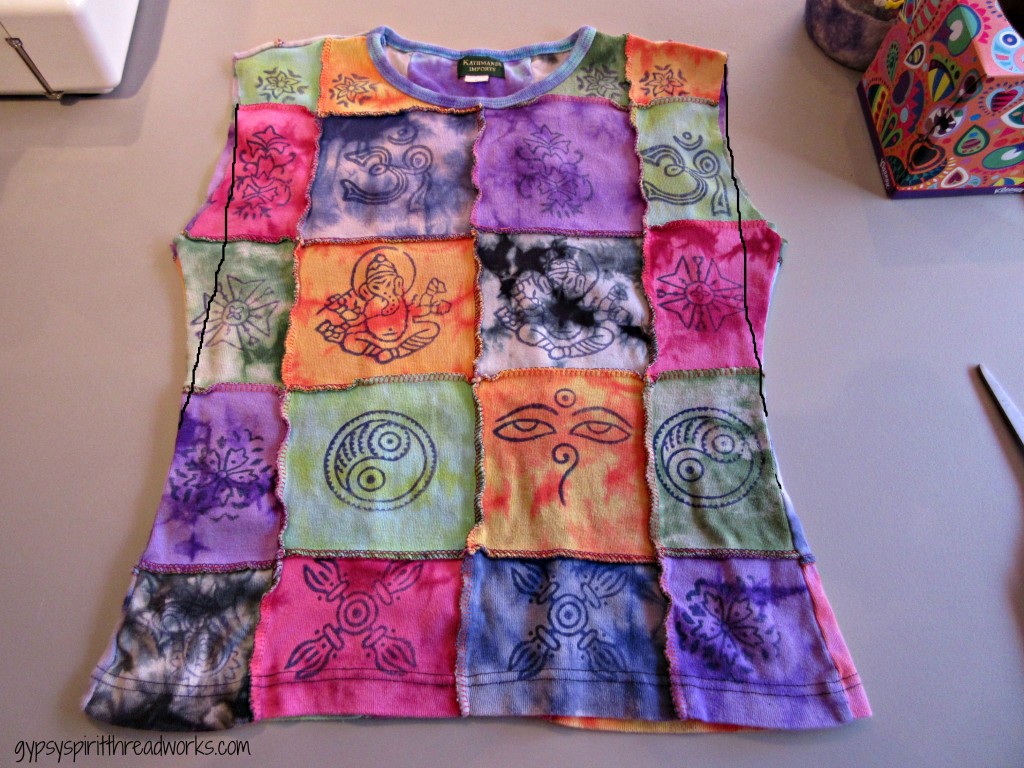
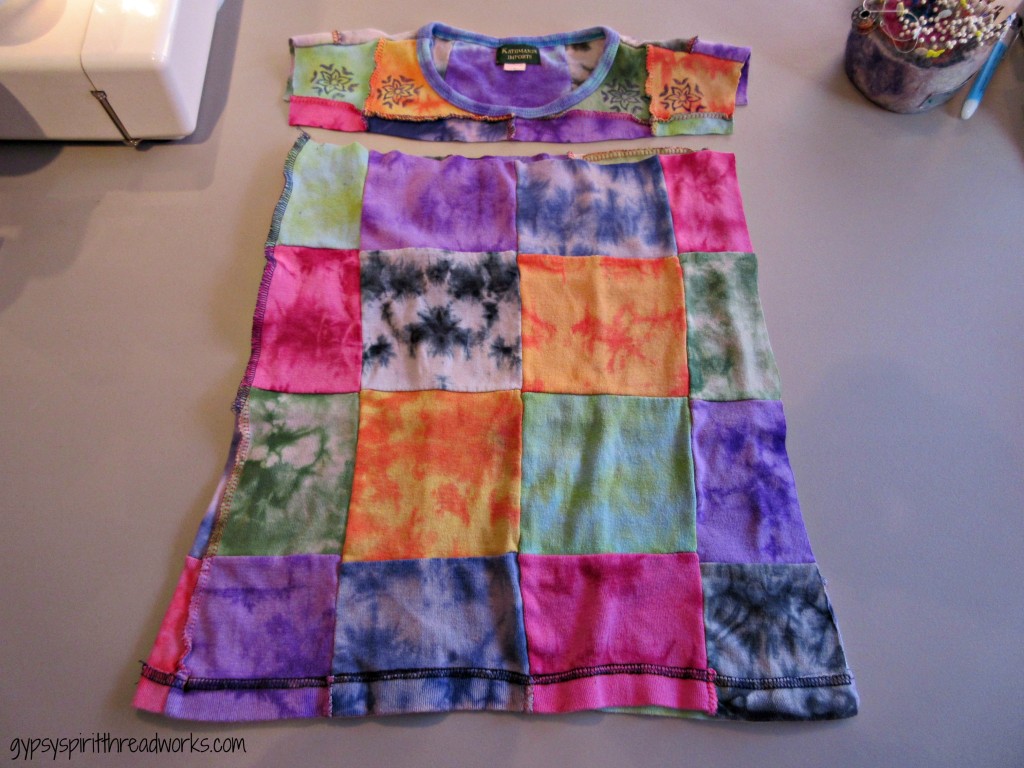
Then I repeated the process with a second top, this one by Kathmandu Imports, size medium. It is made up of stamp printed tie dye knit squares serged together. I could have made all of my seams serged on the outside, but I decided to leave my serged seams on the inside, allowing this shirt to provide contrast and visual interest.

Baby doll dress 6

I cut the top part off and serged the left side seam from the bottom to the top. Before I cut it across the top, I held it up to the first shirt, making sure that they were both the same length.

Baby doll dress 7

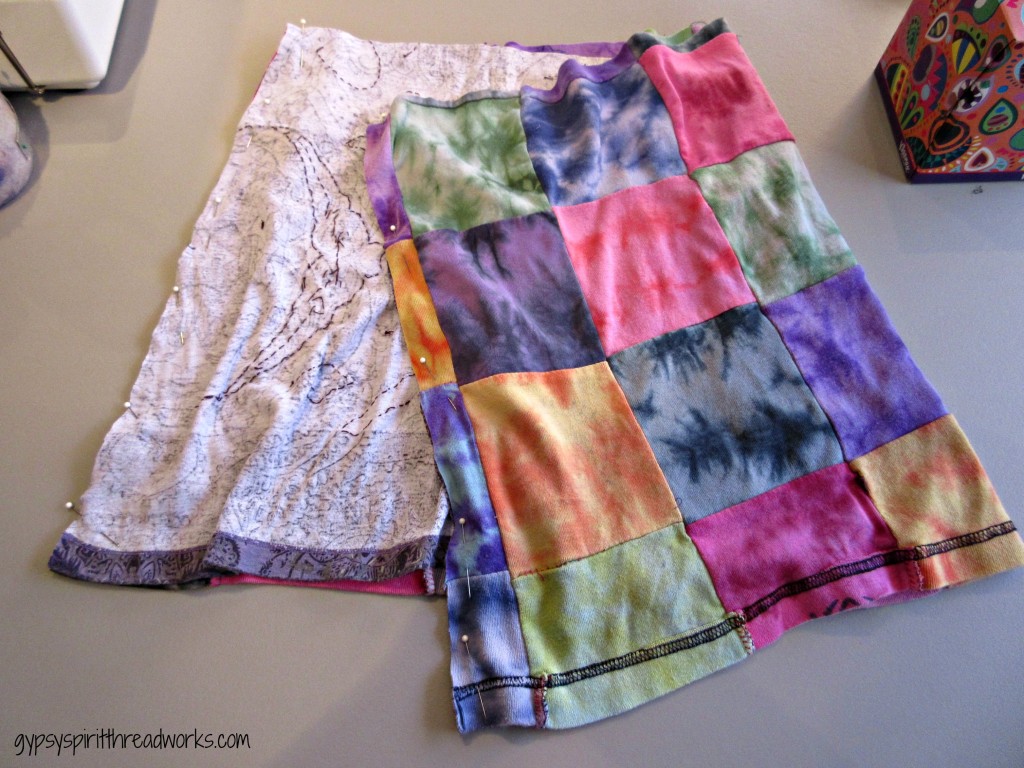
Now open up both pieces, and with the right sides facing each other, pin the sides. This is very important: Serge both seams from the bottom hemmed edge up toward the top edge. If you start from the top, you may have an uneven bottom edge by the time you get there.

Baby doll dress 8

Mark the center front and the center back of the top shirt with chalk. Now with right sides together, pin the top of the skirt to the bottom of the top shirt. The seams where the two former shirts that are now the skirt join will be pinned at the front center and back center marks. The side seams will be pinned to the top’s side seams. Now serge the seam all around, being careful not to catch fabric underneath.

Baby doll dress 9

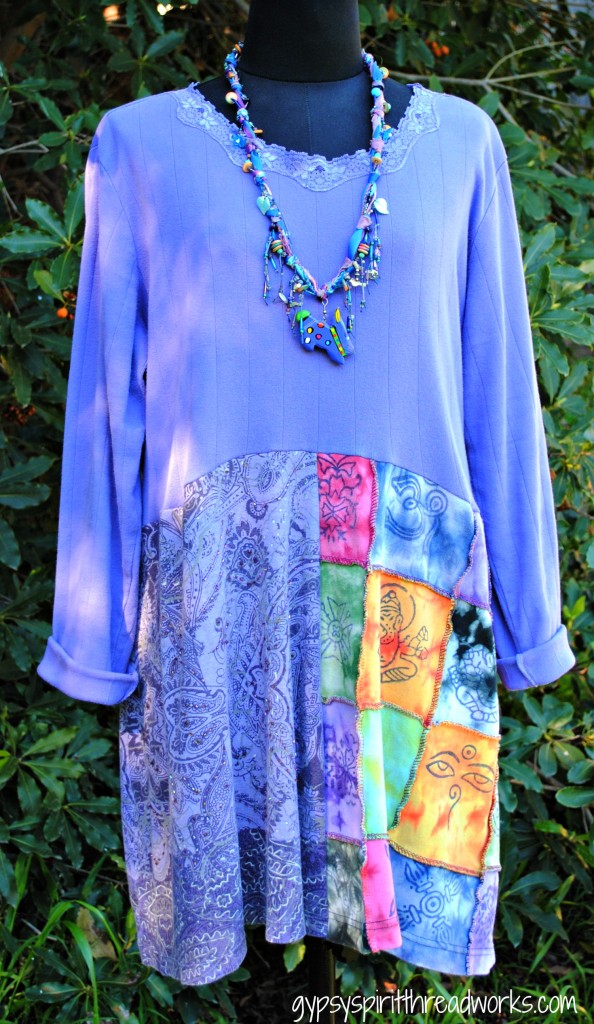
Now turn right side out, and you are done! This is a very fast and easy project, giving new life to old knit shirts, and can be made in all sizes from kids to adults. I’ve accessorized my baby doll dress with a treasure necklace I made long ago. (It looks like bleach spotting there on the dress, but it’s just the sunlight coming through my orange tree.) I wore this out dancing the other night (the same day I made it), and it was very comfy with black fleece leggings and ankle boots. Give it a try! (If you don’t have a serger, use the mock serger knit stitch on your machine.)

 

Upcycled Gypsy Skirt

gypsy skirt materials

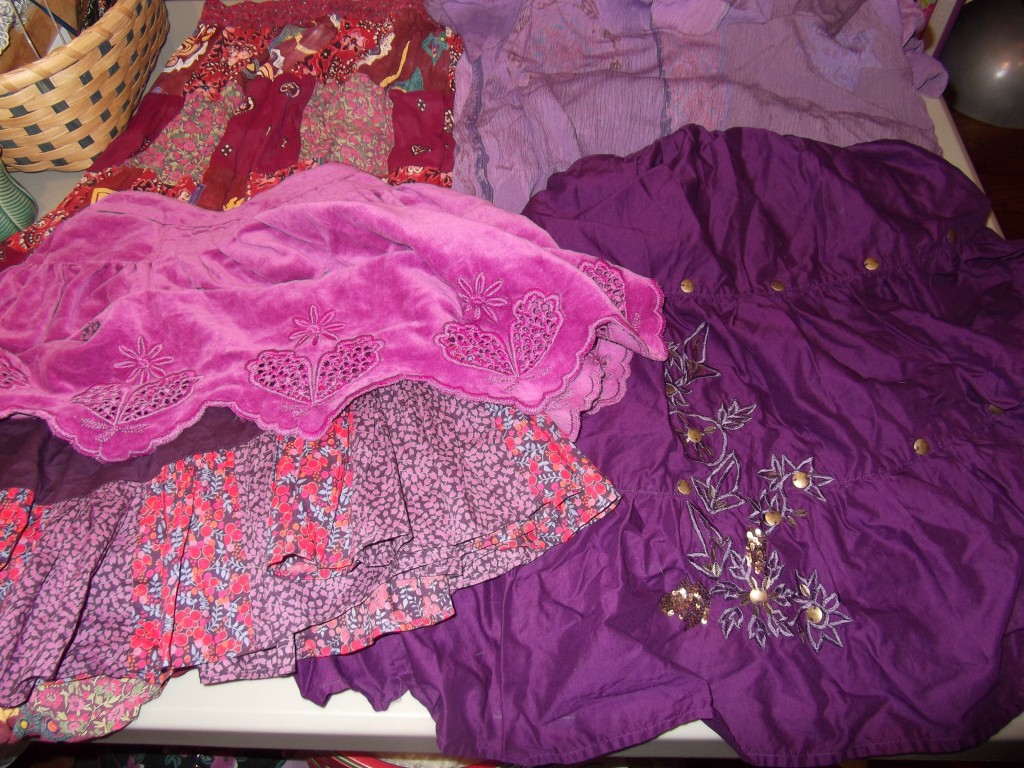
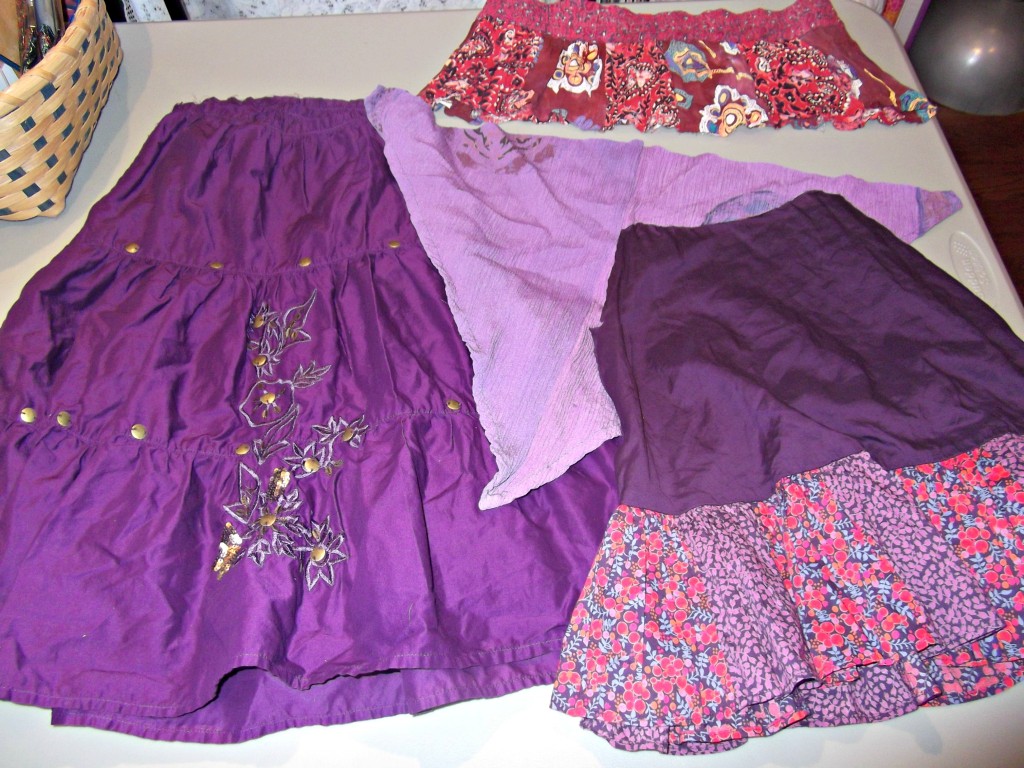
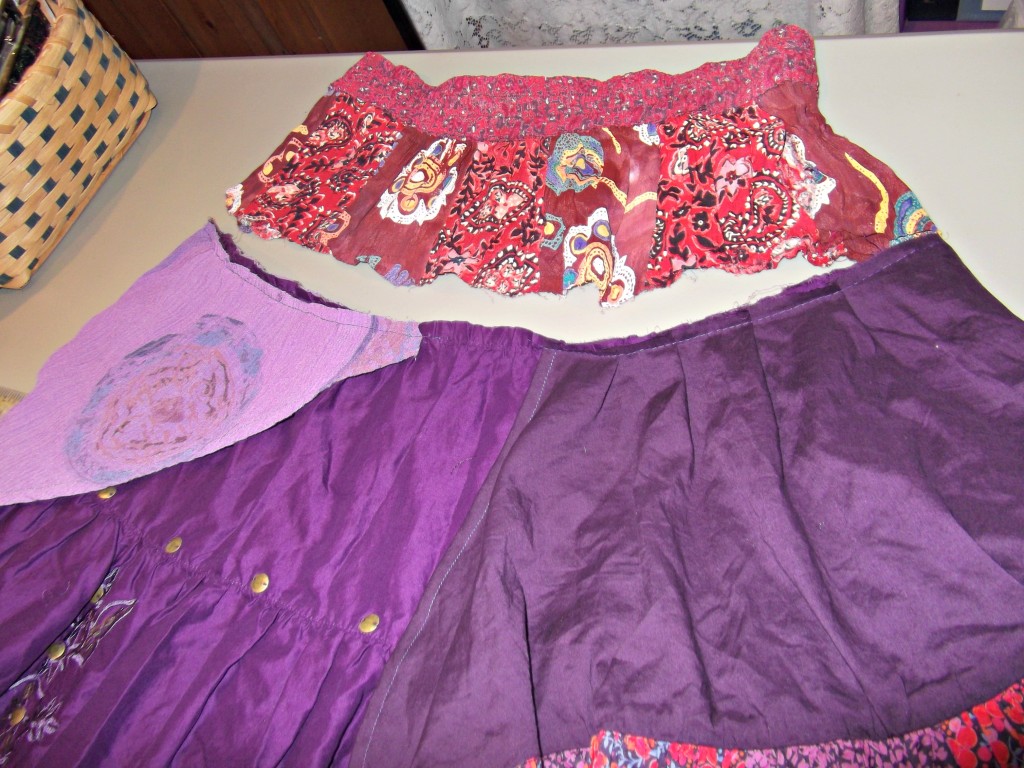
My mission: To create an upcycled gypsy style skirt. I started with (from upper left, clockwise) a rayon patchwork tiered skirt (one size); a rayon long dress full of little holes (size medium), a tiered purple cotton skirt with interesting embroidery and metal findings detailing (size 4), and a child’s skirt with cotton underskirt and cotton velveteen top layer (size 8). I had overdyed the dress several months ago. Everything was from local thrift stores.

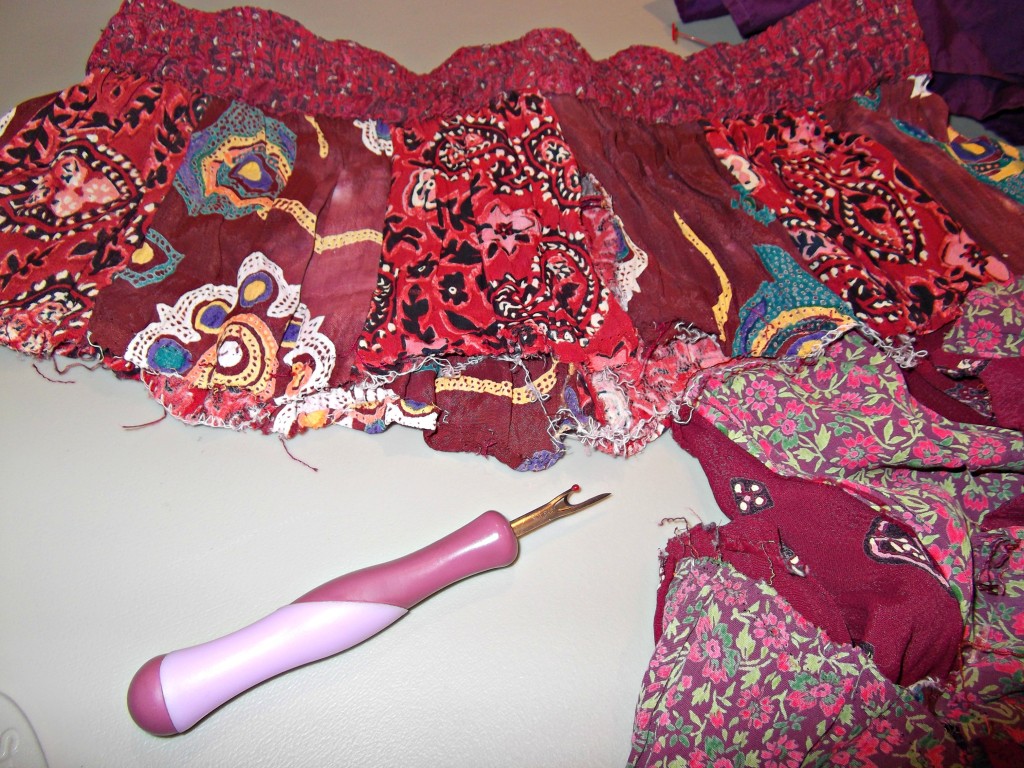
skirt yokeWorking from the top down, the first thing I did was remove the rest of the patchwork skirt from the first tier using a seam ripper.

side detail trim

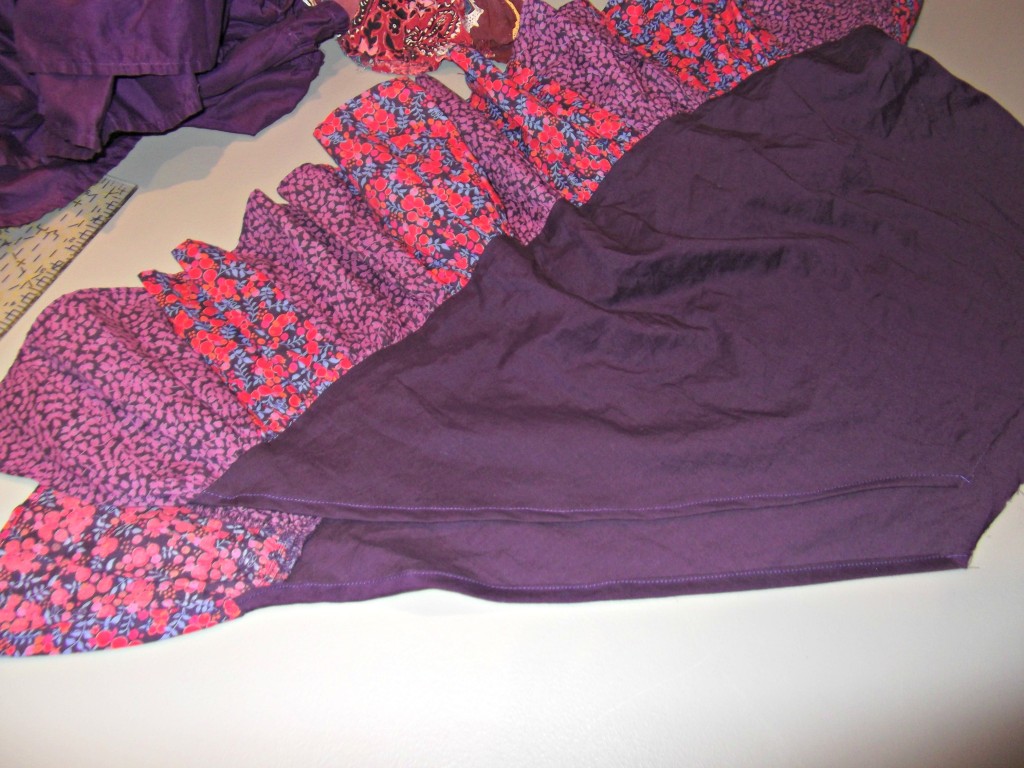
Next I cut the underskirt from the child’s skirt. I folded the side edges down on the diagonal and trimmed them.

ruffled side detail3

I pressed the raw edge under 1/4″ then folded it over again and stitched it down on both sides.

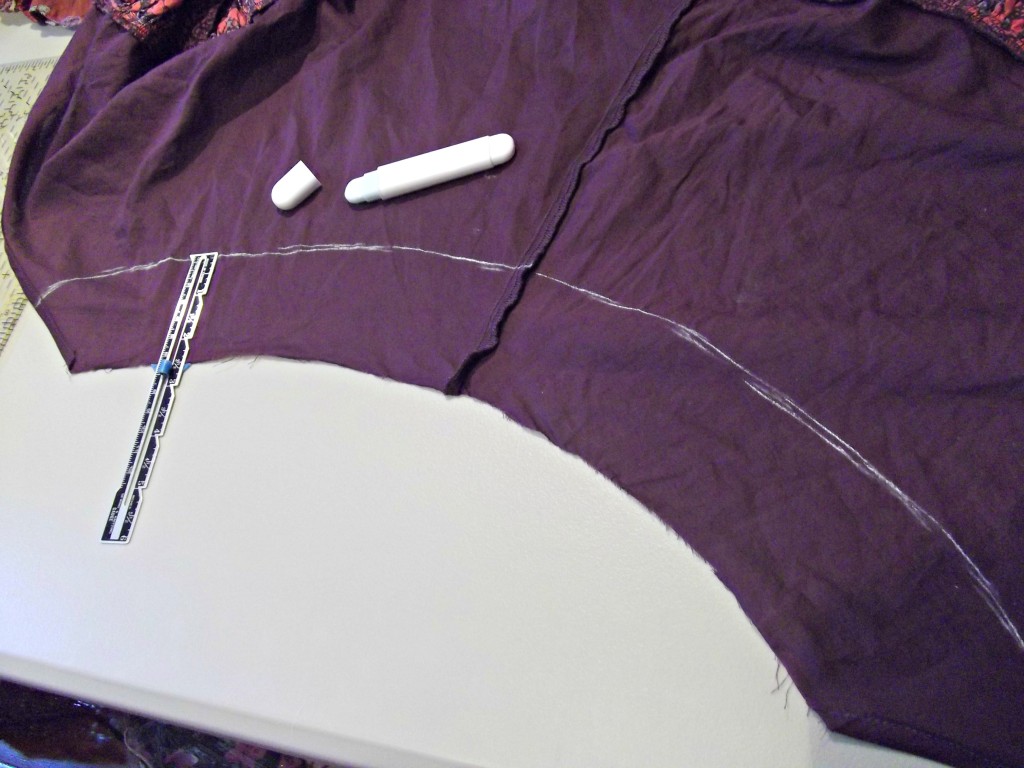
ruffled side detail4I had already removed the bottom part of the purple tiered skirt from its yoke. I held this section up to the top edge of the skirt, and it hung too low to see the round silvertone sequins that are sewn around the skirt. I measured 2.5″ down from the top edge with my rolling chalk marker and cut on the line.

side detail

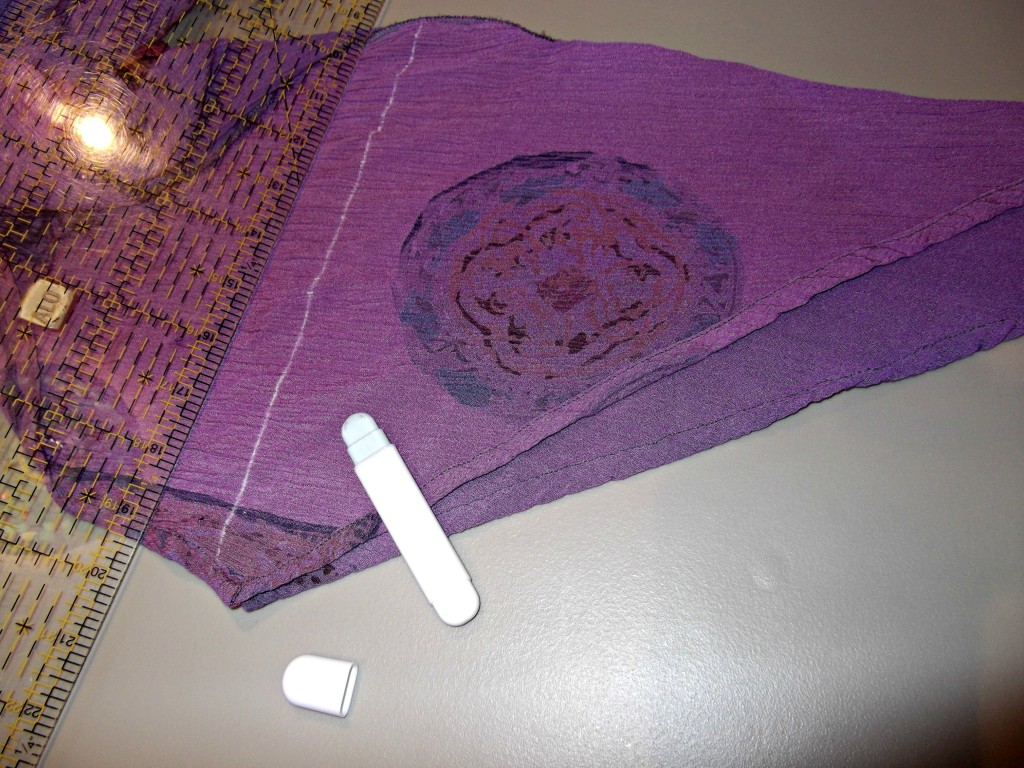
The rayon dress that I overdyed had two overlaid hanging pieces, front and back, pointed at the ends. I cut one off straight across after marking my cutting line with the rolling chalk marker.

skirt components

Now all of my skirt components were ready to be assembled.

purple skirt layout

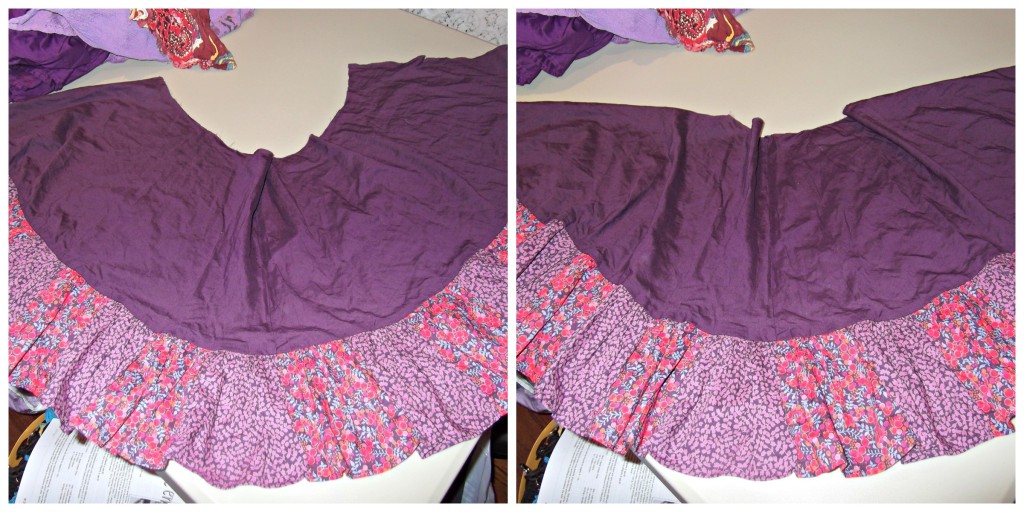
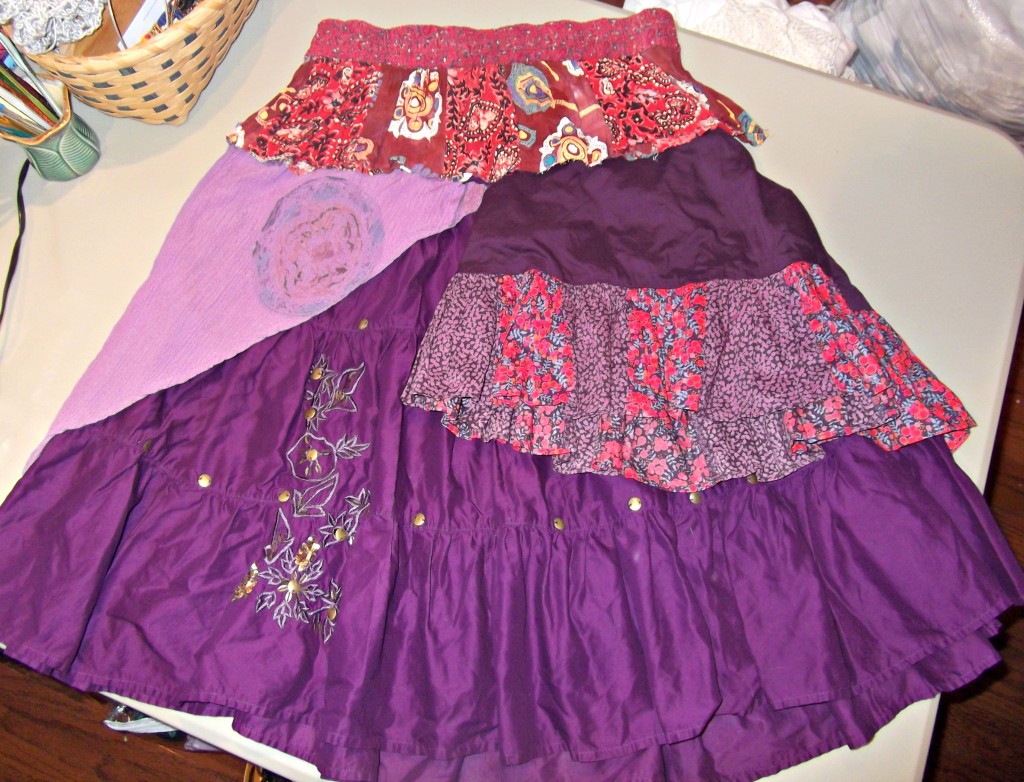
I laid out the skirt components to see if I liked the arrangement. I did!

layers basted

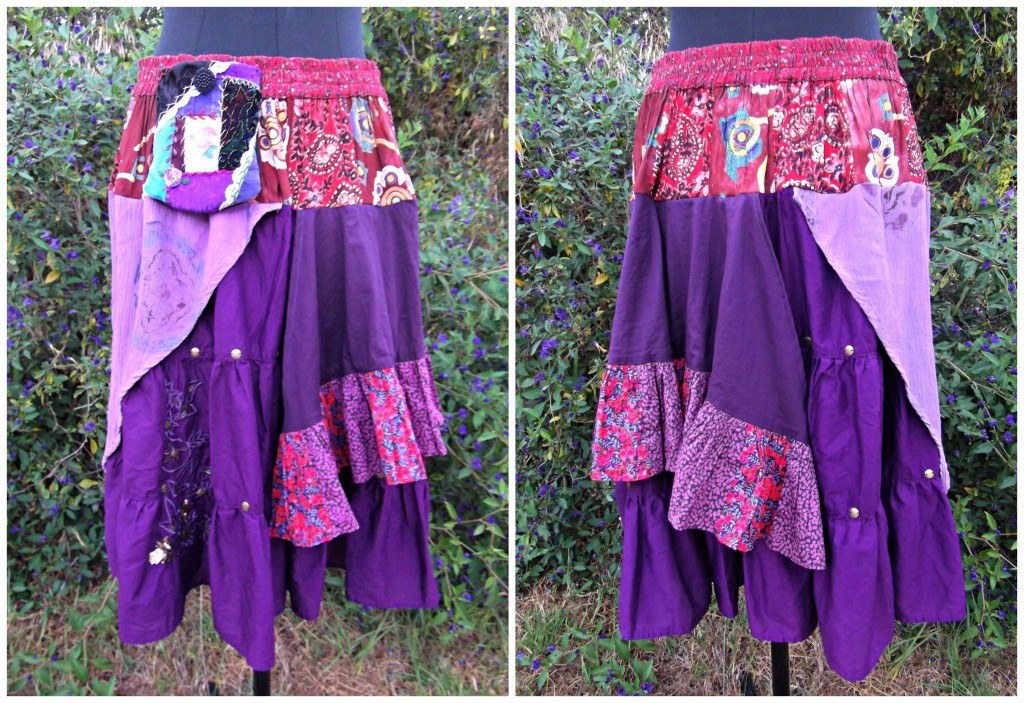
I pinned and stitched the side panels to the top of the purple skirt before attaching the top yoke (waistband and first tier of patches). I pinned the skirt to the yoke and stitched a 3/8″ seam on my sewing machine before going around the sewn seam with my serger. Make sure your skirt is going to fit your hips before you stitch.

pocket pouch close up

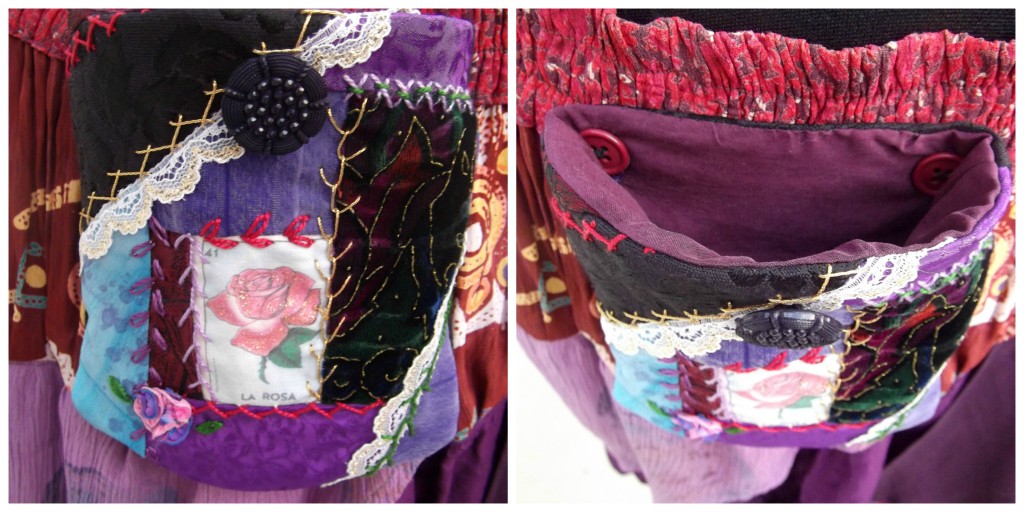
When I had the skirt laid out, I had the thought that the skirt would look and function even better if it had a pocket pouch. I happened to have the front of this embellished pouch already completed, and I had cut out a back from black brocade. I cut the lining from a silk shirt that I had already used the sleeves on another upcycled top. I made vertical buttonholes 1/2″ down from the top edge of the bag as close as I could to both sides, then measured the distance between the buttonholes. I sewed two red buttons onto the lower edge of the waistband after marking the distance with straight pins. I buttoned the pouch onto the skirt while it was on the dress form, and I liked it. It will be handy, and visually it adds a nice focal point. I’m very pleased with how this skirt turned out. I also have enough fabric left over from the garments I used to make several more upcycled projects, which makes each garment very inexpensive to make, besides giving old clothing a new incarnation.

completed skirt front and back

Knit Top Reconstruction

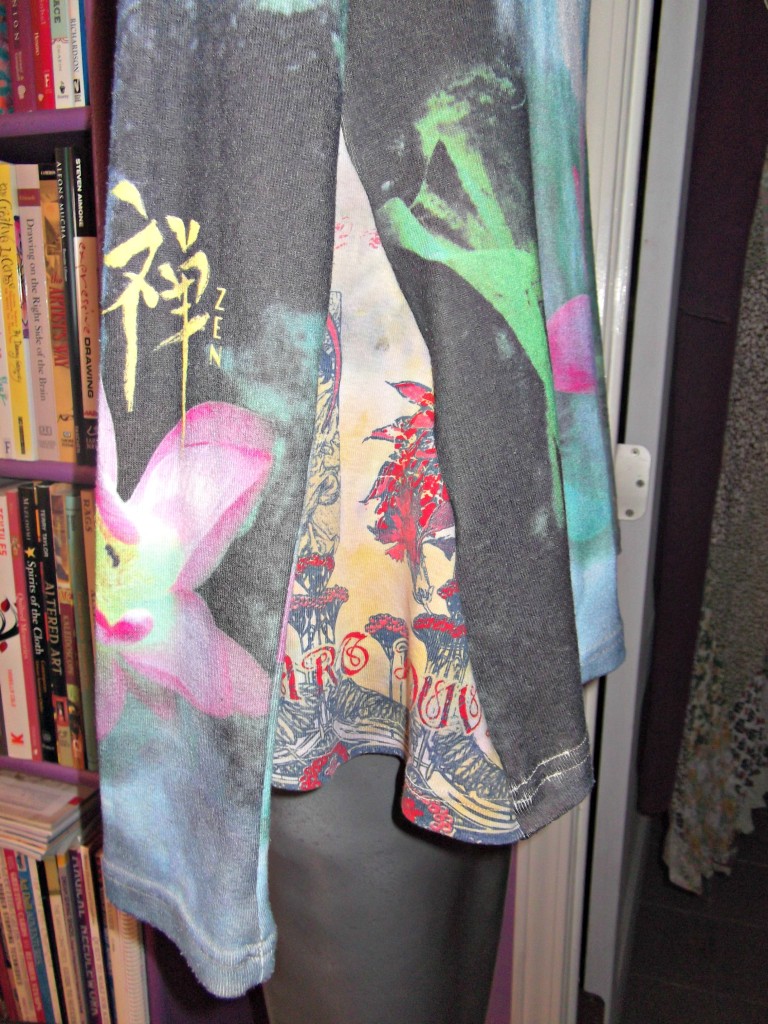
Ever since I have discovered godets (or side wedges, as I like to call them) as a way to make tight tops into swing tops, I’m in love with the technique. It’s just the thing for those of us who no longer have flat tummies. I found this knit long sleeved top at the thrift store awhile back, but it was too tight across my middle. I took another knit top, cut some side wedges, went to my serger, and in no time I made it wearable.

Knit top reconstruction1

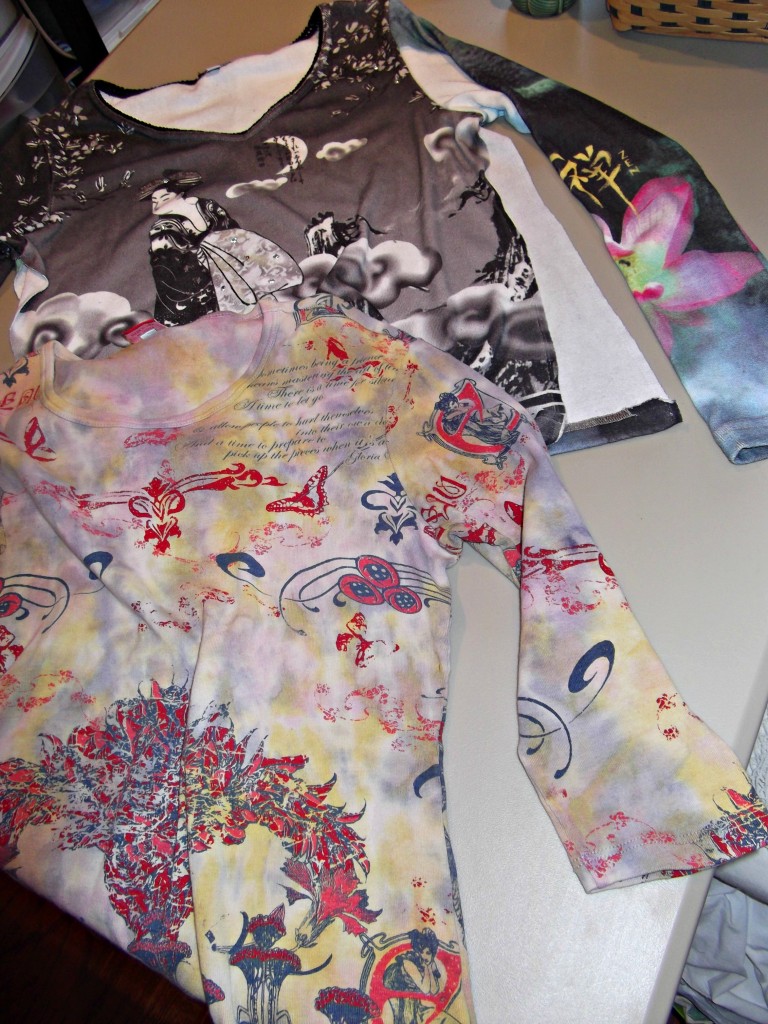
The first top already has the side seams ripped out. I used a seam ripper and picked out a bit of the hem on either side of the seams, as well as the side seam up to the underarm. The second top is the one I cut the wedges from. I measured the side opening, and it was 14 inches. I forgot to take a photo, but I measured from the underarm to the hem on the second shirt on the diagonal, 14 inches. Then I sewed the wedges into the side seams using my serger, from the hem up to the underarm on all four seams.

Knit top reconstruction2

Knit top reconstruction3

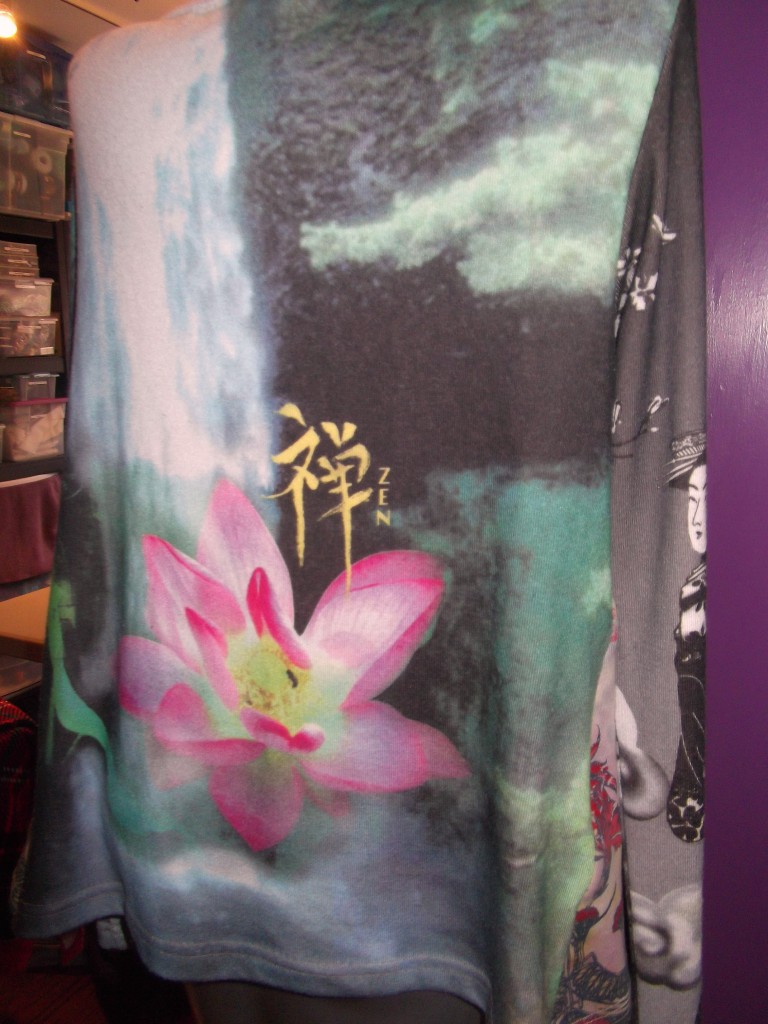
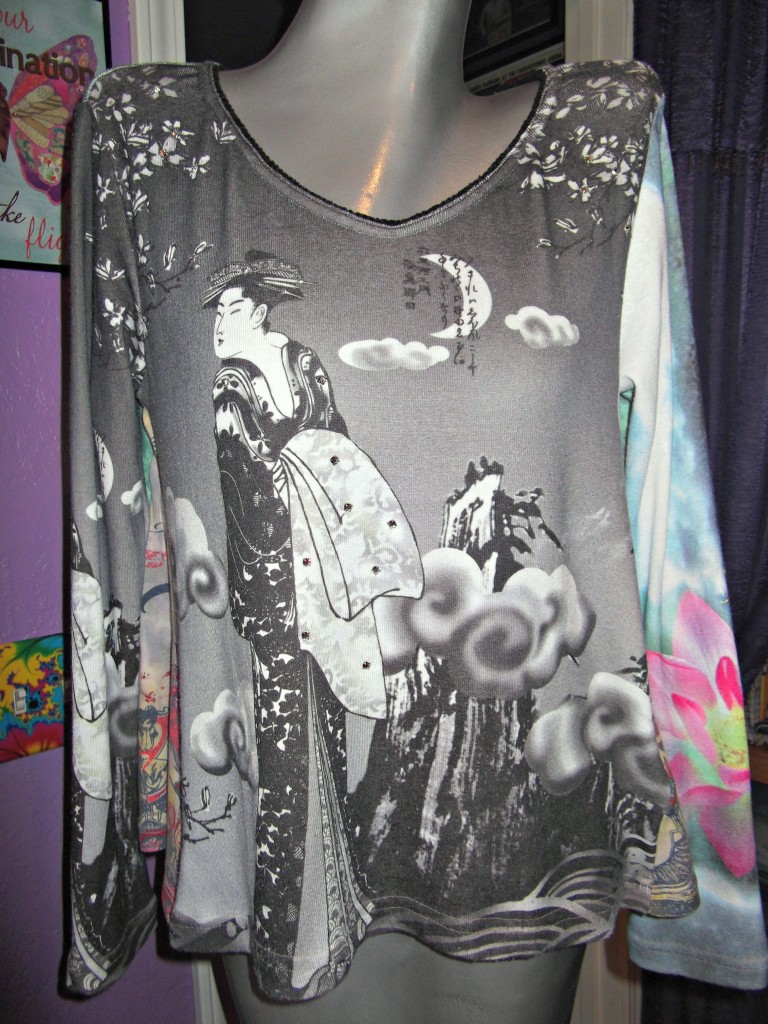
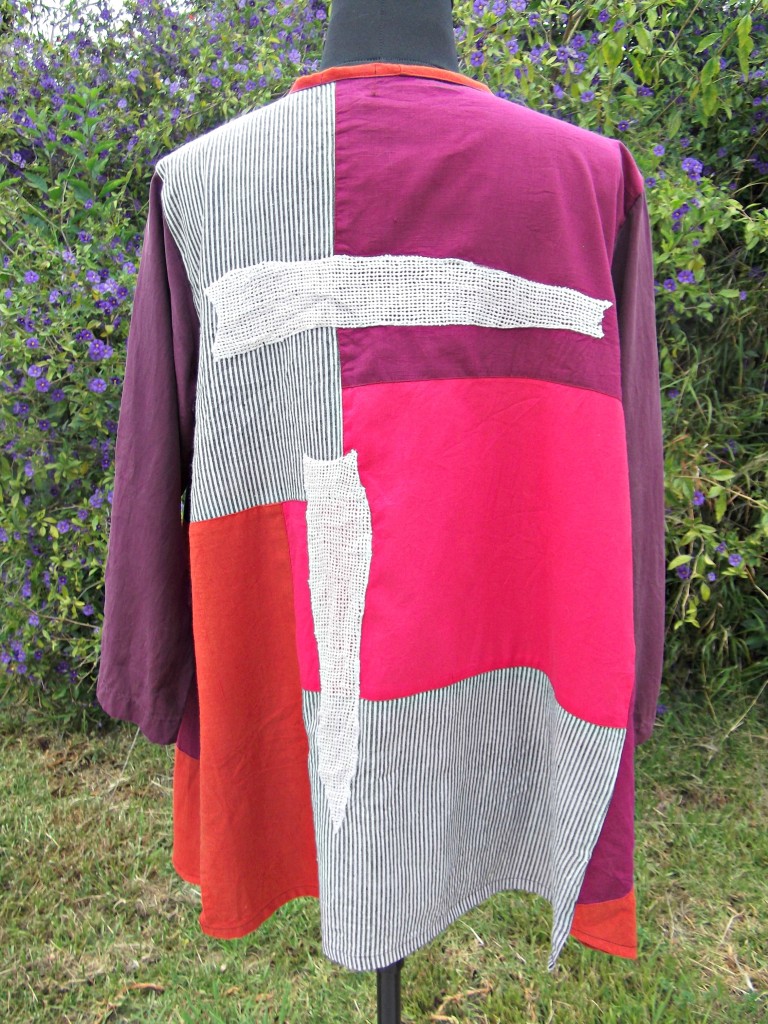
I love how the shirt has different graphics on the back and the front, and the sleeves are made from each of the knit fabrics. Adding the wedges just added to the eclectic design.

Knit top reconstruction4

The completed reconstruction. Now it’s a swingy top that won’t cling to my middle. I can’t wait to wear it!

Sandy Starkman shirt alteration

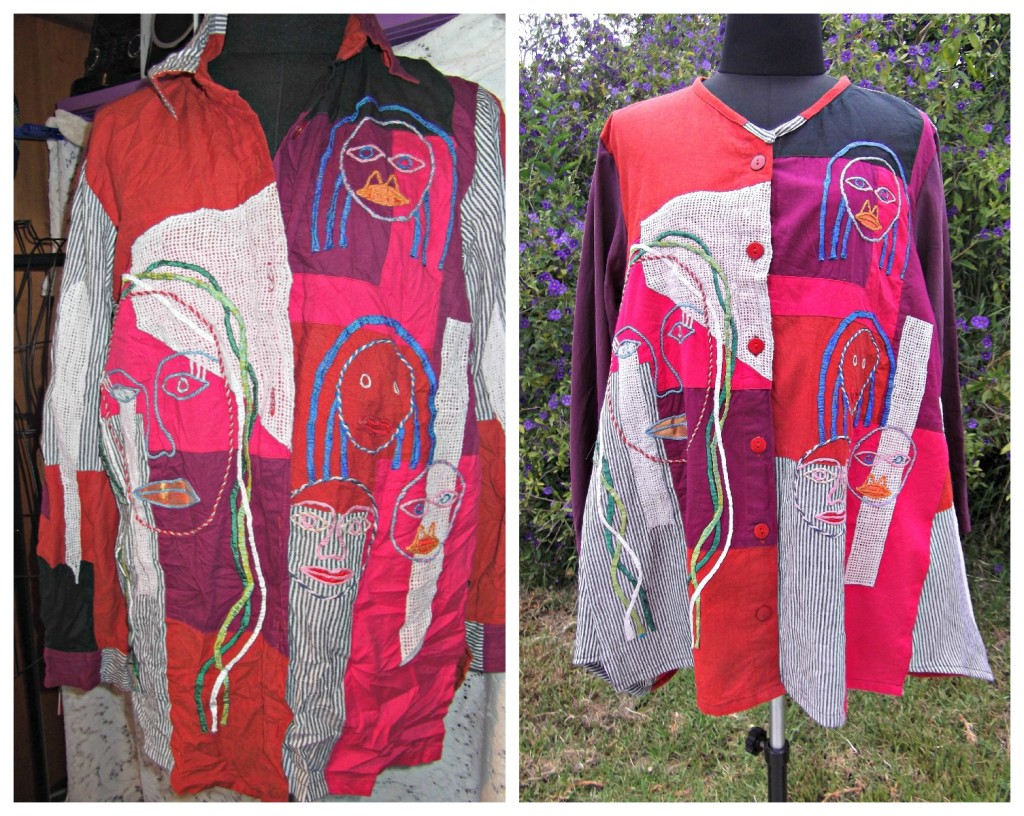
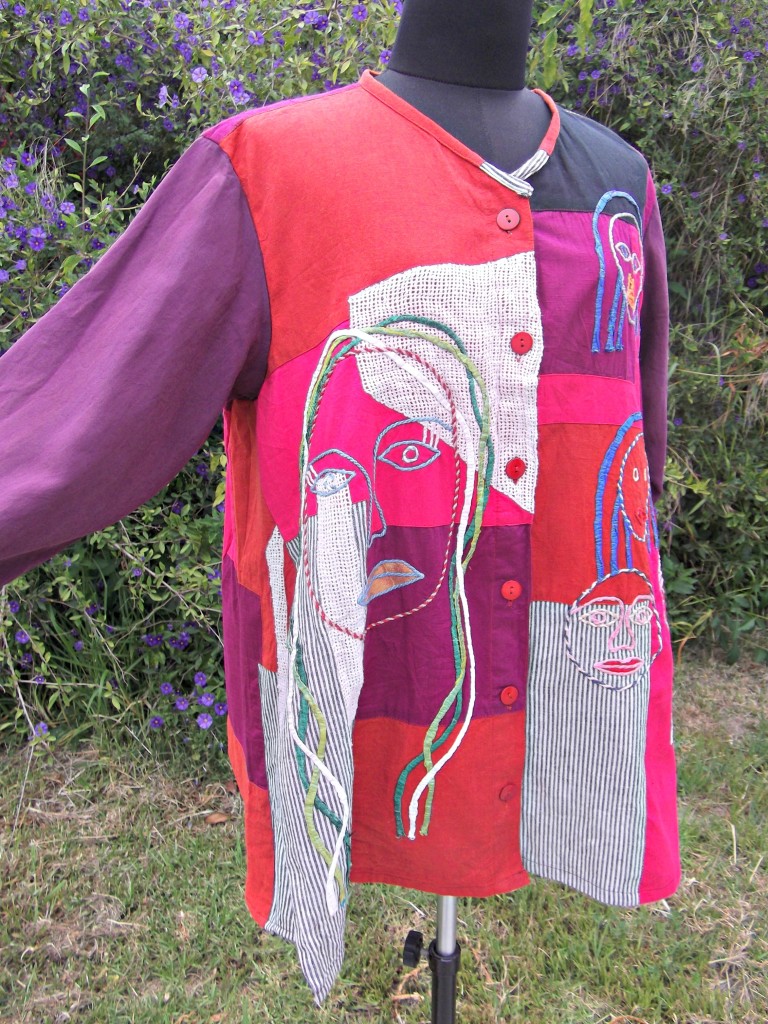
Sandy Starkman top

Recently, my local 99 Cent Only store has been selling clothing from a small rack. Two months ago I found this Sandy Starkman shirt in size Small. I knew it wouldn’t fit around my hips, but it was too cute and funky to pass up for 99 cents. I could see that it had possibilities!

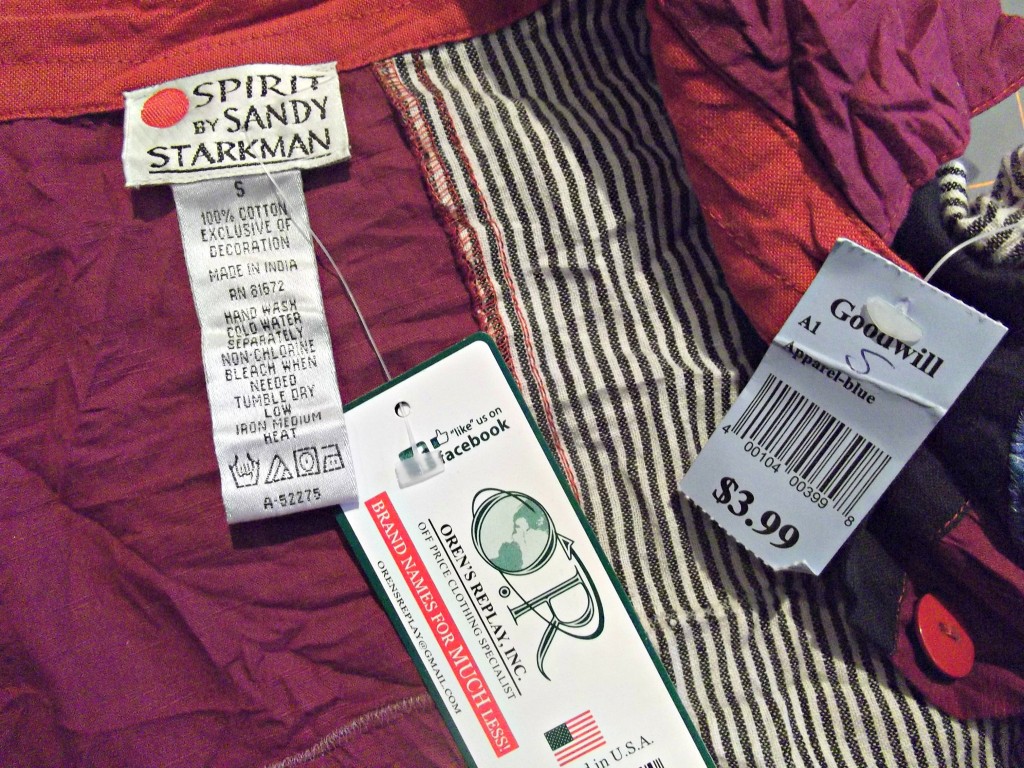
shirt label and tagsApparently, the shirt was originally from a Goodwill store somewhere, and was part of a remainders bulk purchase by Oren’s Replay, Inc. I Googled them, and they are a liquidation company, selling primarily at 99 Cent Only stores.

sleeve alteration1

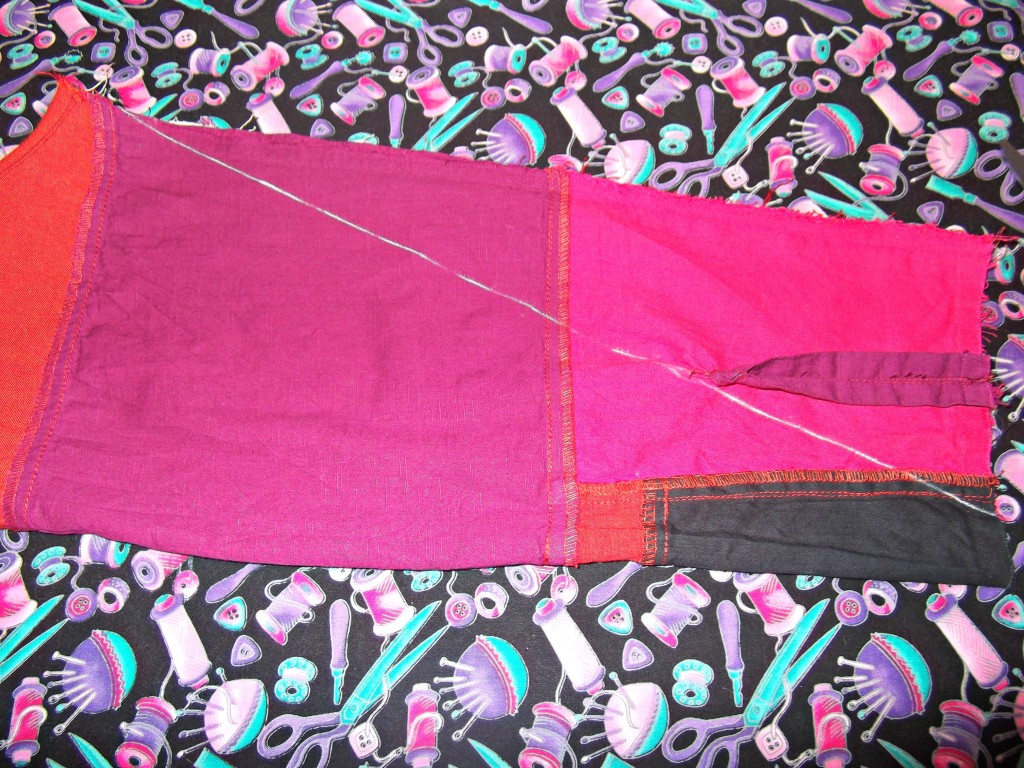
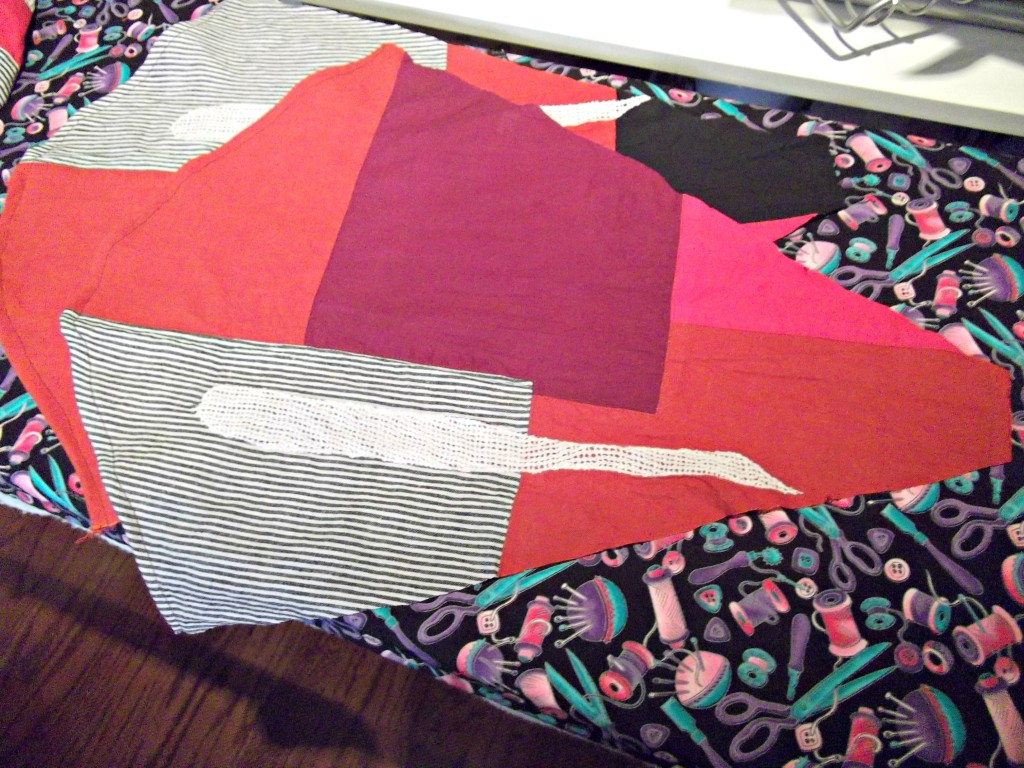
With my trusty seam ripper in hand, I took off the collar, sleeves, and cuffs. I also ripped out the side seams and the hems. I took a sleeve, folded it right sides together, and drew this diagonal chalk line. I cut on the chalk line. I then used the first sleeve as a pattern for the second.

sleeve alteration2

Then I hemmed the sleeve caps, because they would now be at the bottom edge of the shirt.

shirt side view

You can see that the shirt is a bit longer than the inserted upside down sleeves, but I consider that a design element. I had ripped out the shirt hems because I didn’t like the thread color, and the stitching was a bit wonky. I re-hemmed the front and back of the shirt before attaching the inverted sleeves to the side seams. I took the sleeves off a thrifted purple silk shirt and used them to replace the sleeves. I used scraps from the sleeve trimming to make a neck band.

back view

Here is the back view, which I did not change. Now this shirt fits comfortably and it’s more my style. All for 99 cents and a little bit of time and ingenuity!