Upcycled Gypsy Skirt

gypsy skirt materials

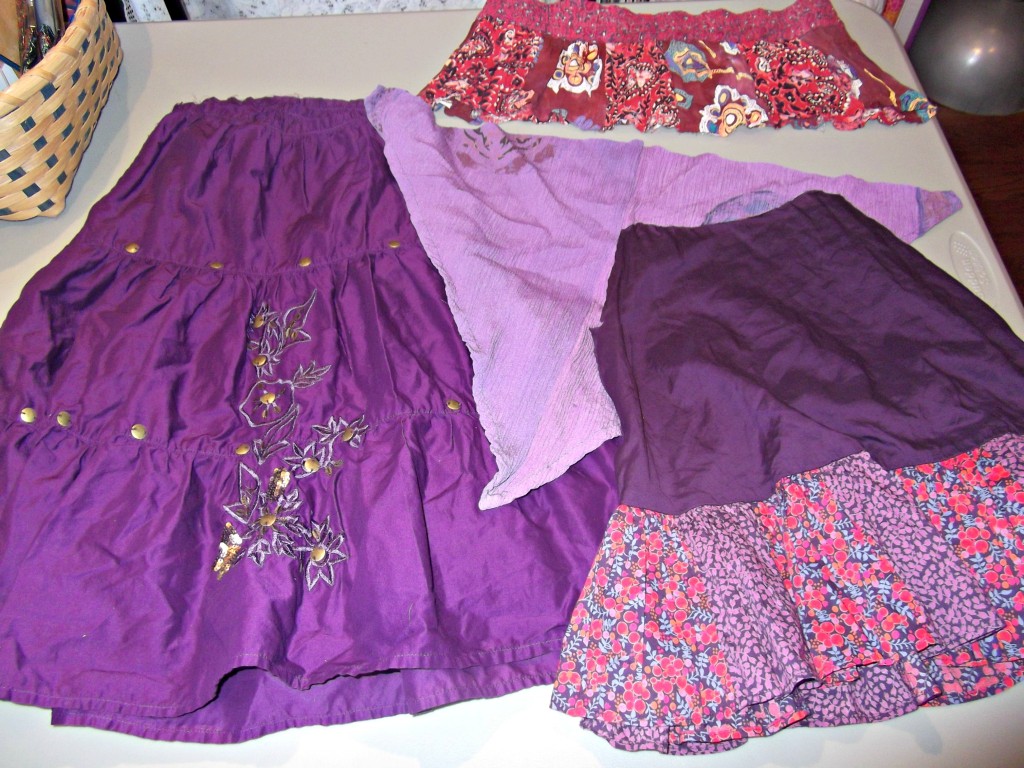
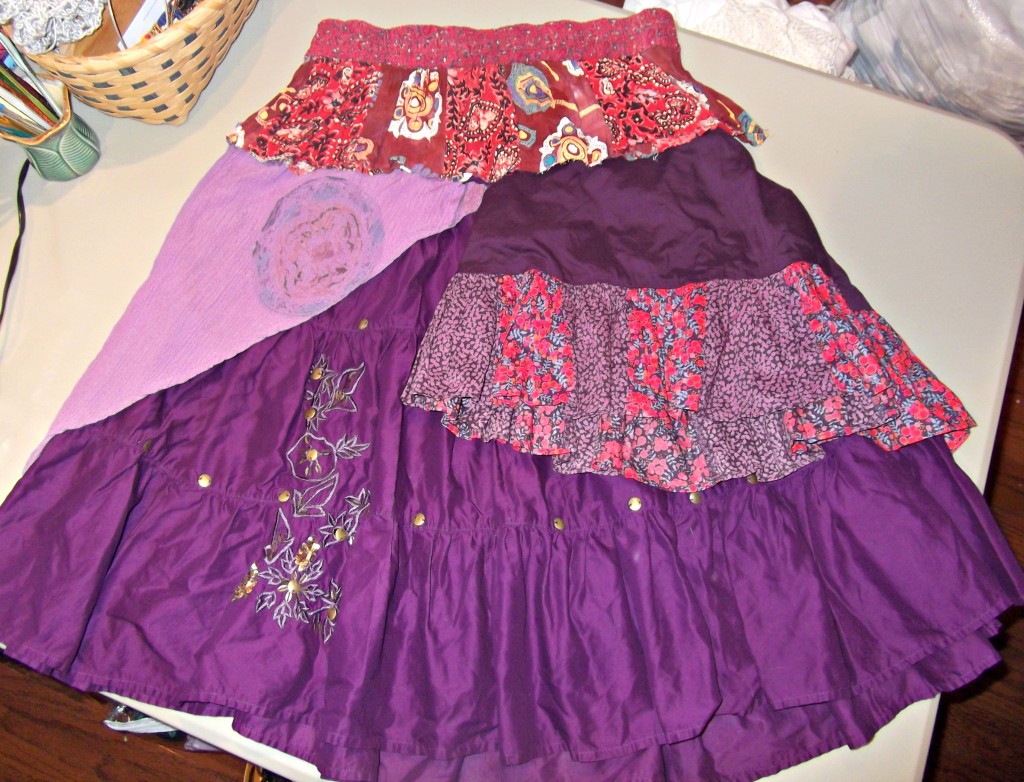
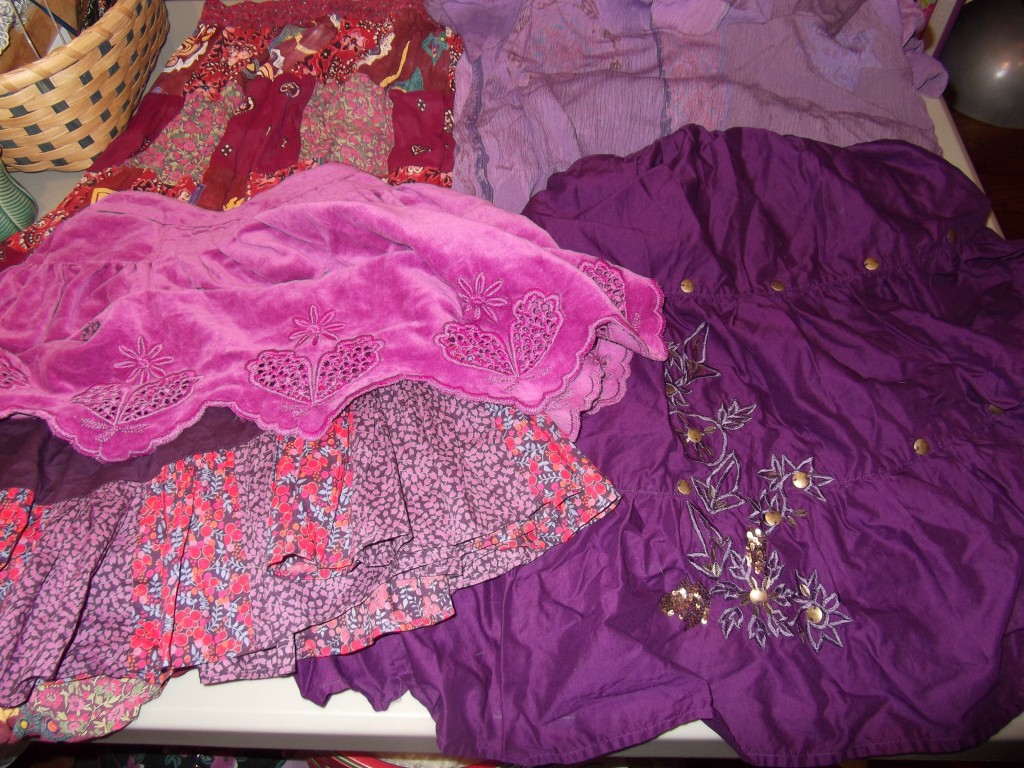
My mission: To create an upcycled gypsy style skirt. I started with (from upper left, clockwise) a rayon patchwork tiered skirt (one size); a rayon long dress full of little holes (size medium), a tiered purple cotton skirt with interesting embroidery and metal findings detailing (size 4), and a child’s skirt with cotton underskirt and cotton velveteen top layer (size 8). I had overdyed the dress several months ago. Everything was from local thrift stores.
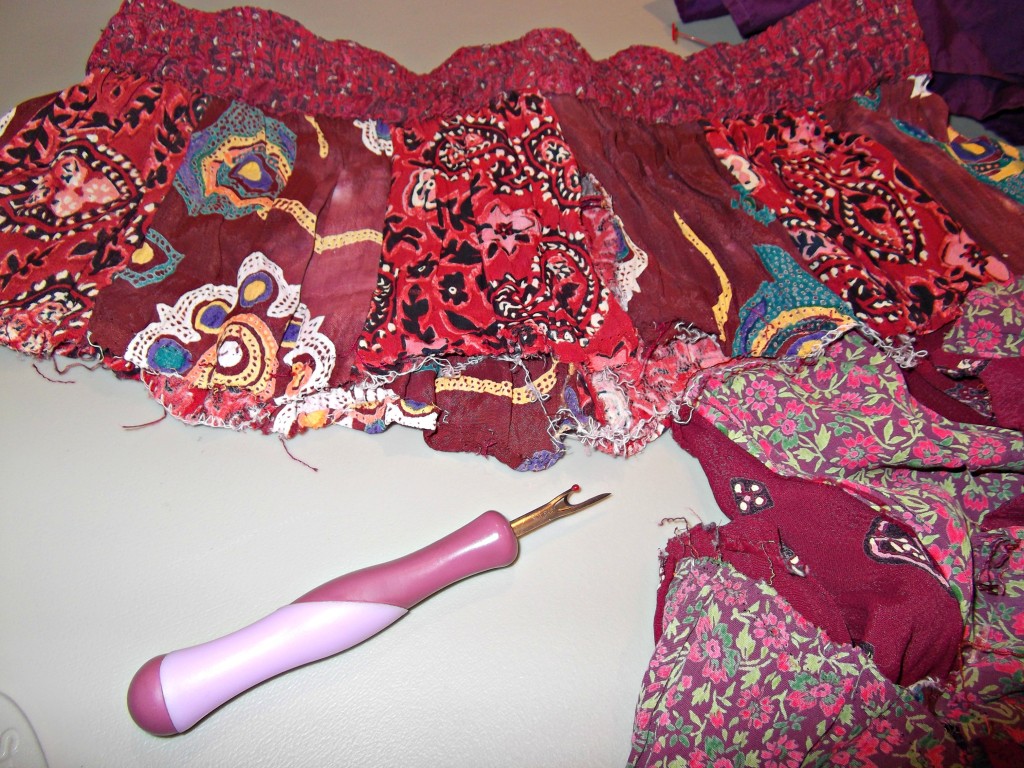
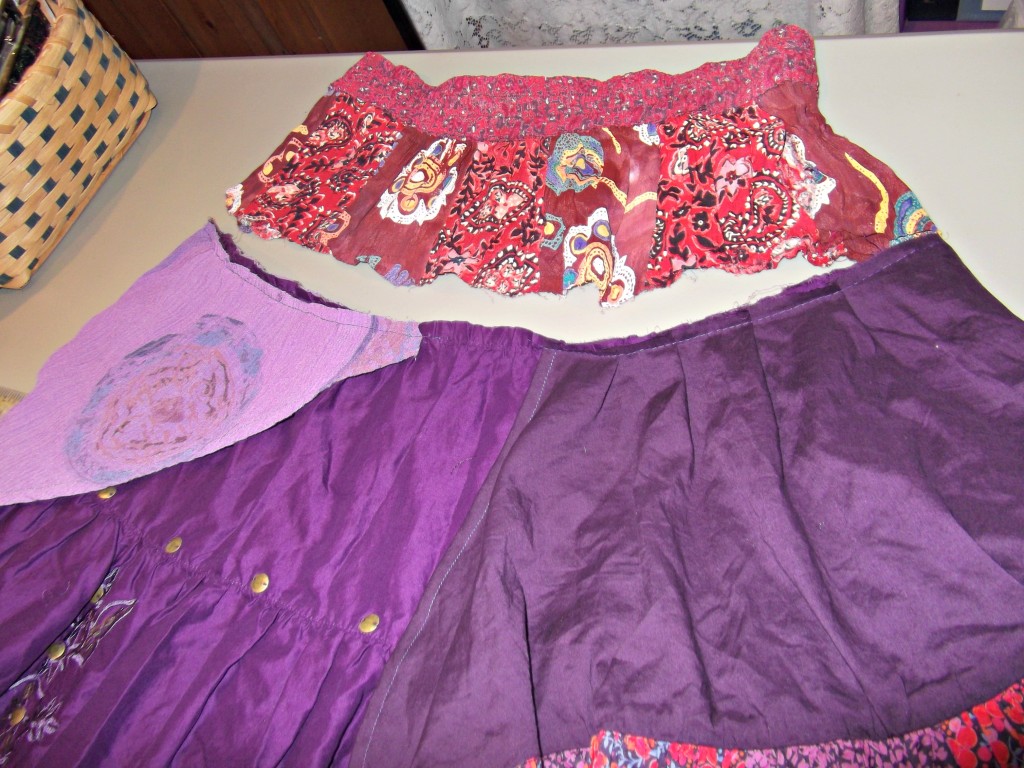
skirt yokeWorking from the top down, the first thing I did was remove the rest of the patchwork skirt from the first tier using a seam ripper.

side detail trim

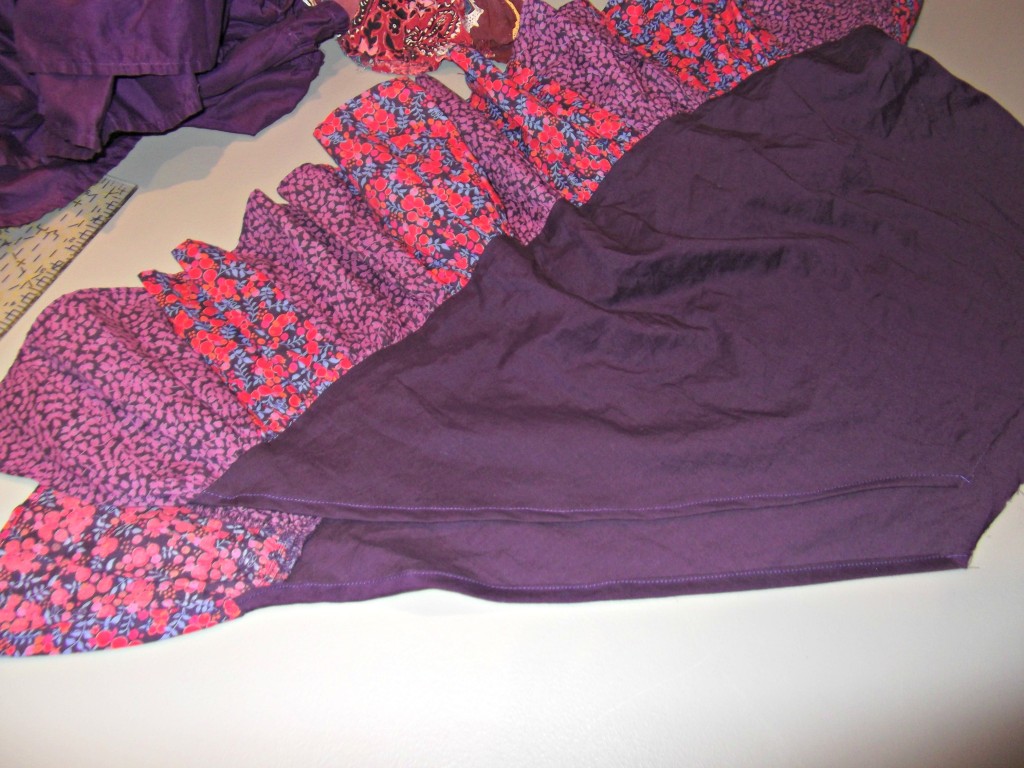
Next I cut the underskirt from the child’s skirt. I folded the side edges down on the diagonal and trimmed them.

ruffled side detail3

I pressed the raw edge under 1/4″ then folded it over again and stitched it down on both sides.
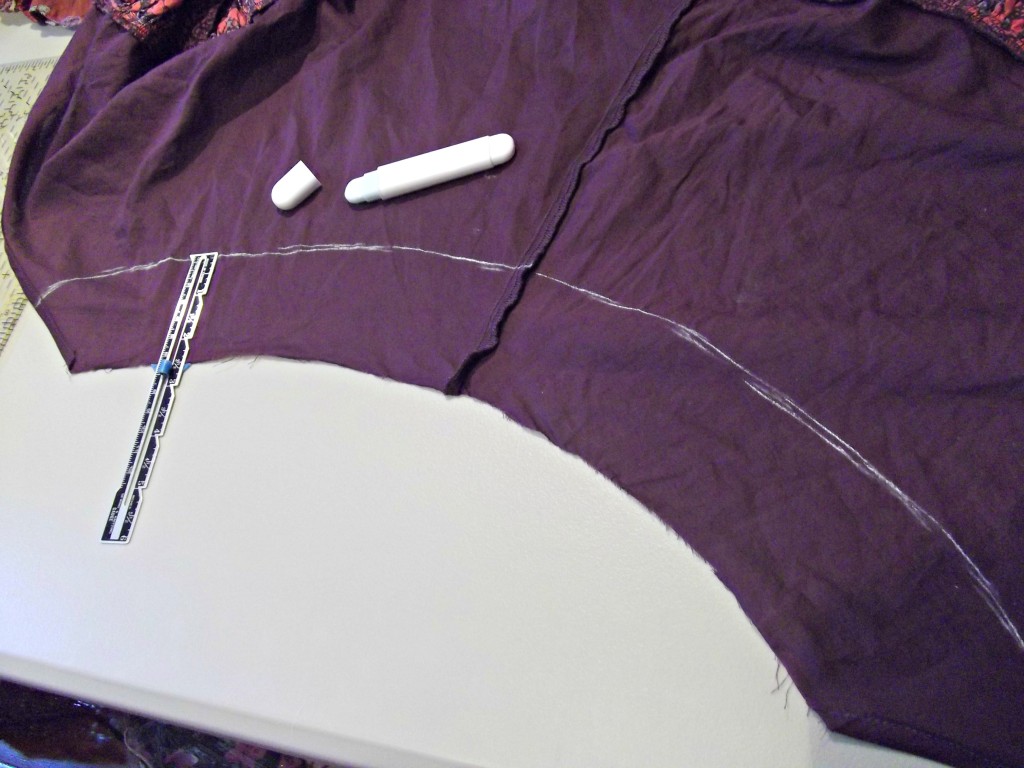
ruffled side detail4I had already removed the bottom part of the purple tiered skirt from its yoke. I held this section up to the top edge of the skirt, and it hung too low to see the round silvertone sequins that are sewn around the skirt. I measured 2.5″ down from the top edge with my rolling chalk marker and cut on the line.

side detail

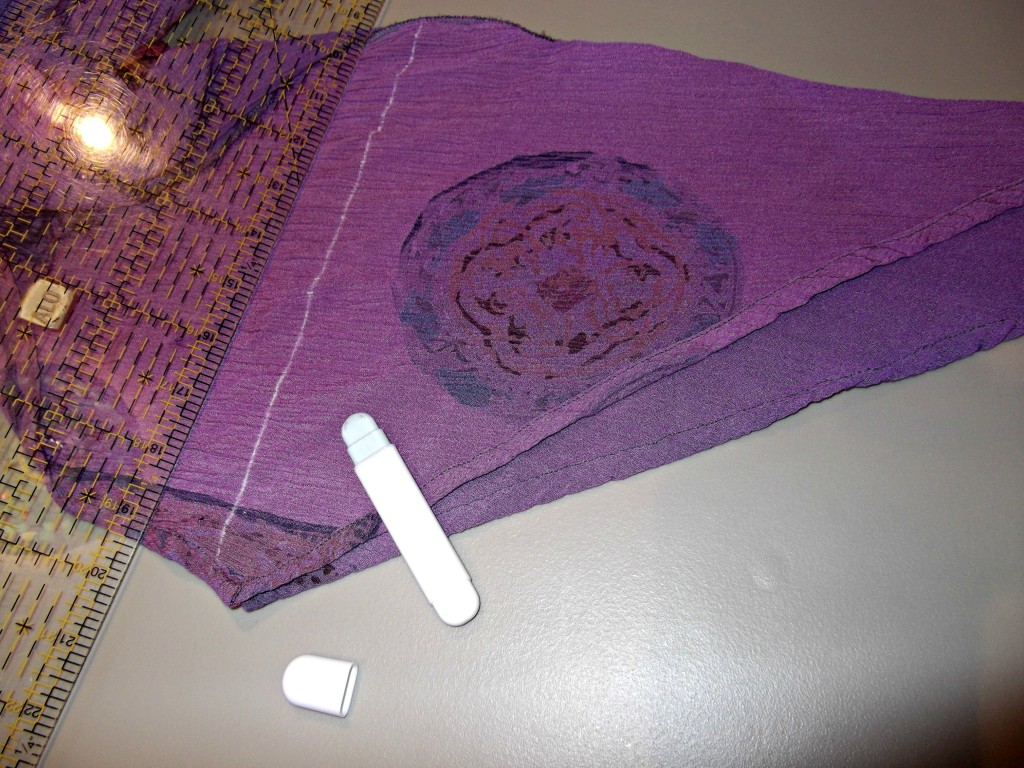
The rayon dress that I overdyed had two overlaid hanging pieces, front and back, pointed at the ends. I cut one off straight across after marking my cutting line with the rolling chalk marker.

skirt components

Now all of my skirt components were ready to be assembled.

purple skirt layout

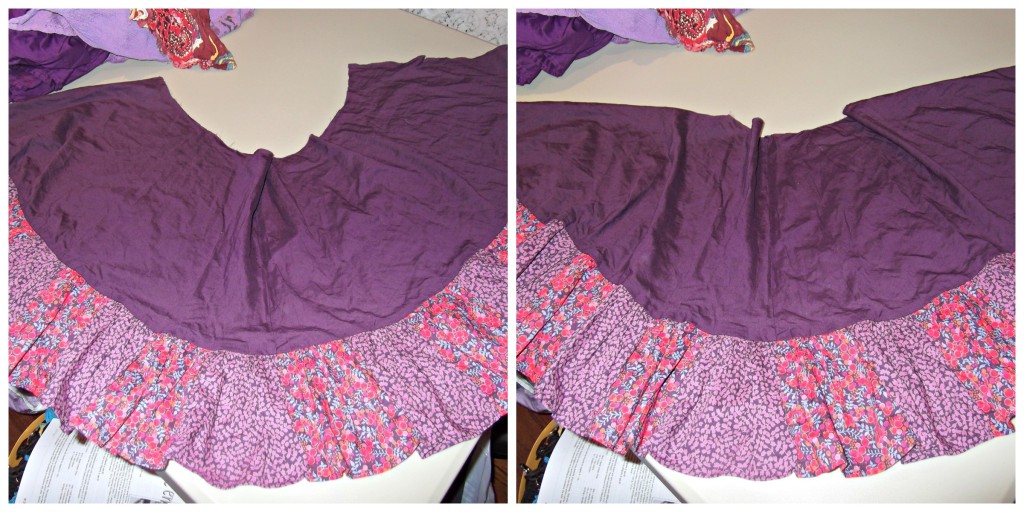
I laid out the skirt components to see if I liked the arrangement. I did!

layers basted

I pinned and stitched the side panels to the top of the purple skirt before attaching the top yoke (waistband and first tier of patches). I pinned the skirt to the yoke and stitched a 3/8″ seam on my sewing machine before going around the sewn seam with my serger. Make sure your skirt is going to fit your hips before you stitch.

pocket pouch close up

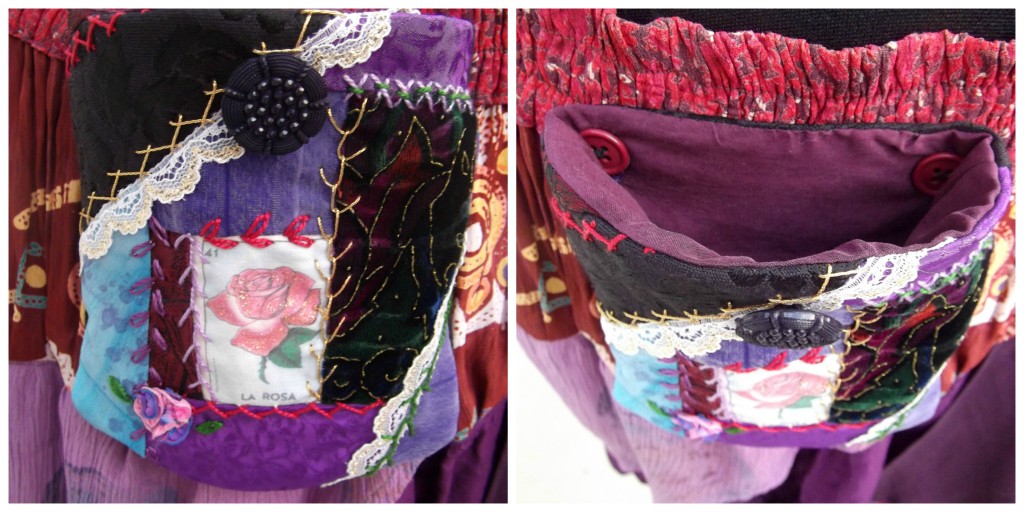
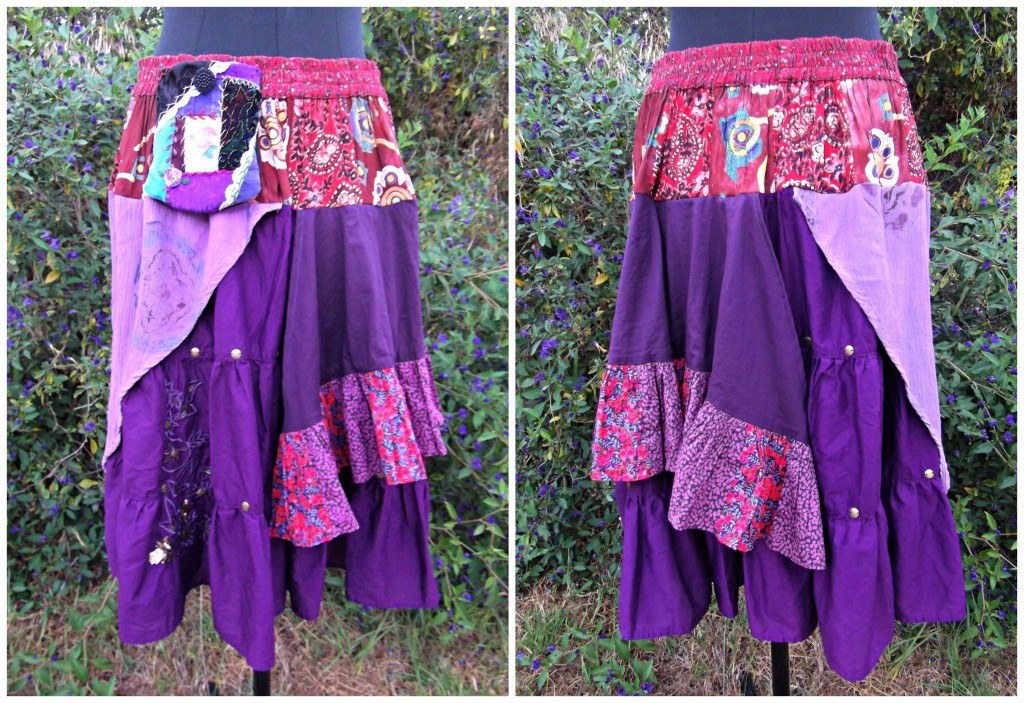
When I had the skirt laid out, I had the thought that the skirt would look and function even better if it had a pocket pouch. I happened to have the front of this embellished pouch already completed, and I had cut out a back from black brocade. I cut the lining from a silk shirt that I had already used the sleeves on another upcycled top. I made vertical buttonholes 1/2″ down from the top edge of the bag as close as I could to both sides, then measured the distance between the buttonholes. I sewed two red buttons onto the lower edge of the waistband after marking the distance with straight pins. I buttoned the pouch onto the skirt while it was on the dress form, and I liked it. It will be handy, and visually it adds a nice focal point. I’m very pleased with how this skirt turned out. I also have enough fabric left over from the garments I used to make several more upcycled projects, which makes each garment very inexpensive to make, besides giving old clothing a new incarnation.
completed skirt front and back

Knit Top Reconstruction

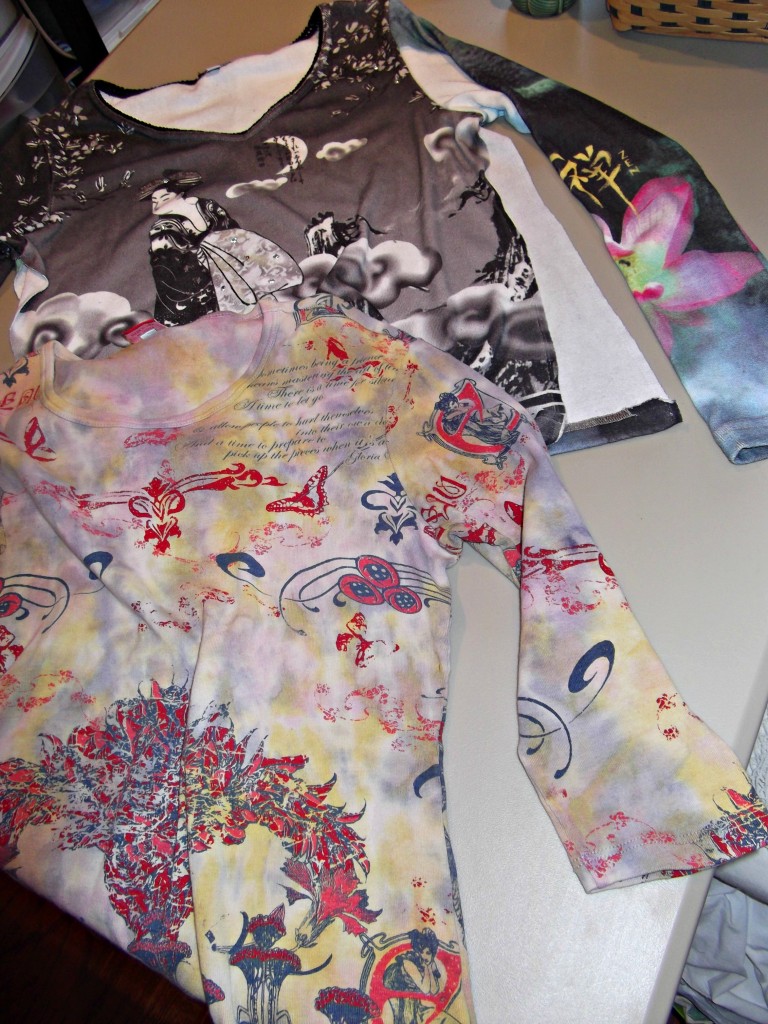
Ever since I have discovered godets (or side wedges, as I like to call them) as a way to make tight tops into swing tops, I’m in love with the technique. It’s just the thing for those of us who no longer have flat tummies. I found this knit long sleeved top at the thrift store awhile back, but it was too tight across my middle. I took another knit top, cut some side wedges, went to my serger, and in no time I made it wearable.

Knit top reconstruction1

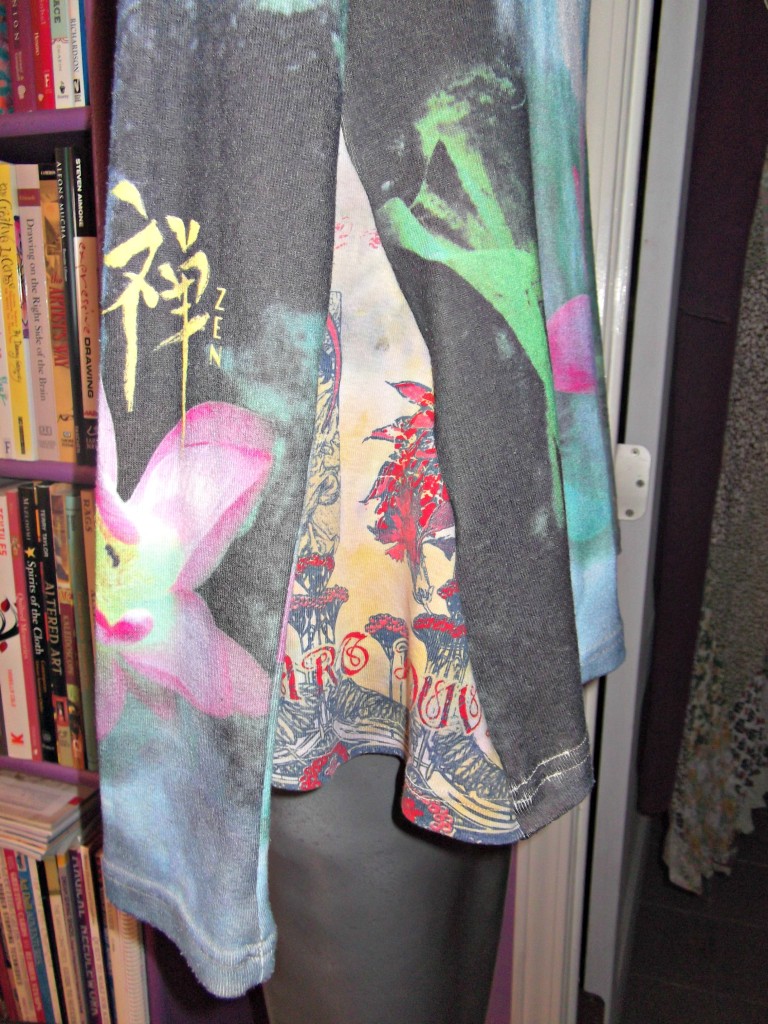
The first top already has the side seams ripped out. I used a seam ripper and picked out a bit of the hem on either side of the seams, as well as the side seam up to the underarm. The second top is the one I cut the wedges from. I measured the side opening, and it was 14 inches. I forgot to take a photo, but I measured from the underarm to the hem on the second shirt on the diagonal, 14 inches. Then I sewed the wedges into the side seams using my serger, from the hem up to the underarm on all four seams.

Knit top reconstruction2

Knit top reconstruction3

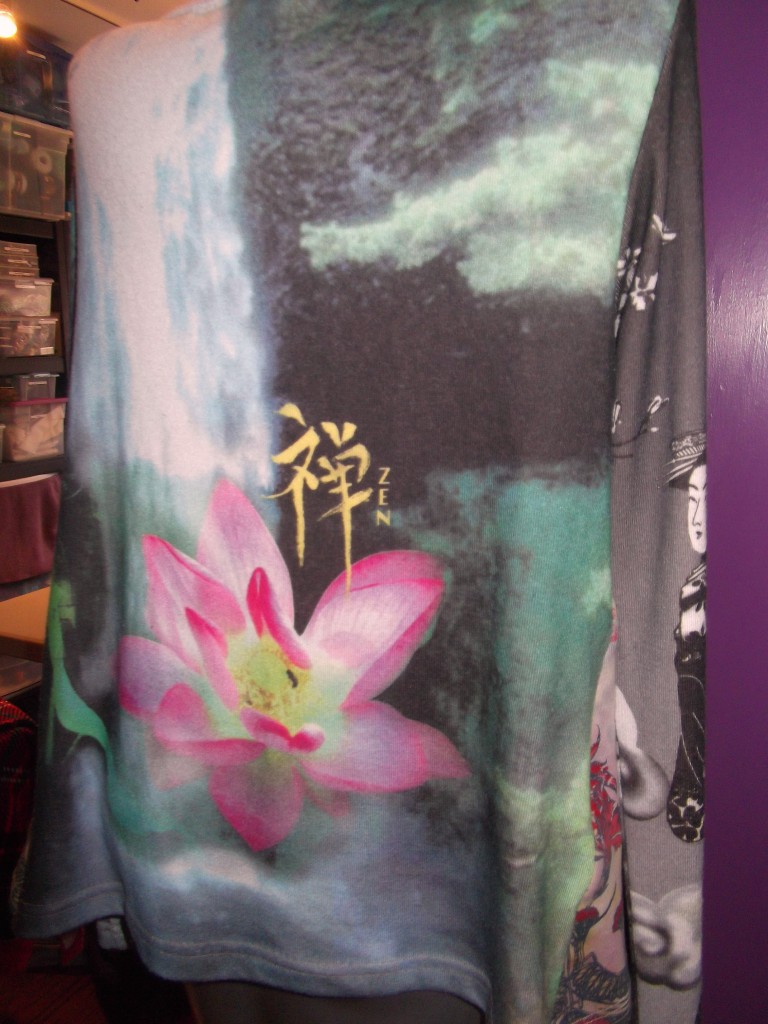
I love how the shirt has different graphics on the back and the front, and the sleeves are made from each of the knit fabrics. Adding the wedges just added to the eclectic design.

Knit top reconstruction4

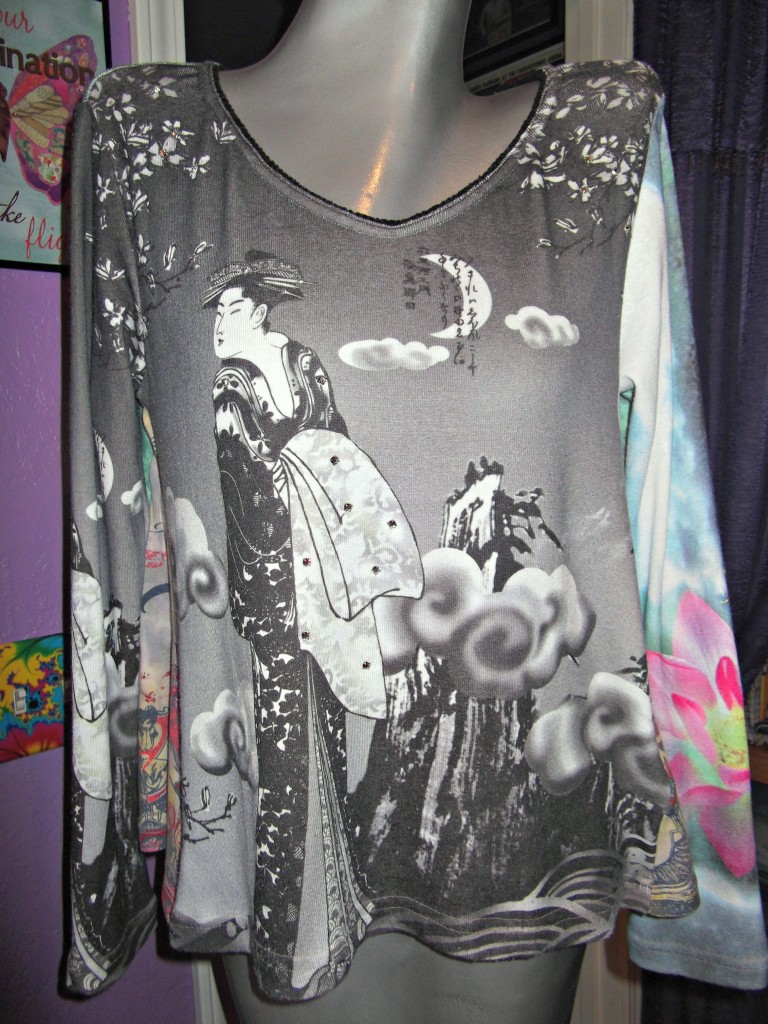
The completed reconstruction. Now it’s a swingy top that won’t cling to my middle. I can’t wait to wear it!

Her Roots Go Down

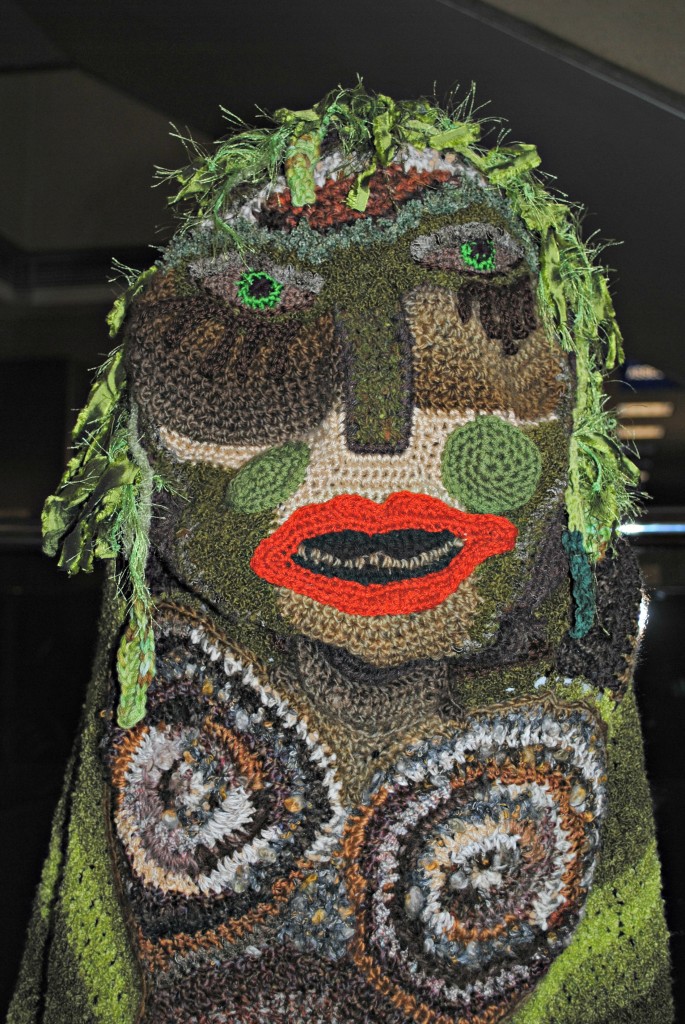
When the “Mother Earth” theme for the 2013 International Free Form Fiberarts Guild Challenge was voted on by the members, I knew that I wanted to come up with something big. A big freeform crochet project. Every year the Yahoo group hosts a virtual challenge, and all 2000+ members are welcome to suggest themes and enter the challenge, which is posted online and books-on-demand are available for order. I would never get any new work done if it wasn’t for show deadlines and challenges. I always create a new freeform garment for each year’s challenge.

So I began to contemplate the idea of Mother Earth. For me, the immediate impression I got was of Mother Earth as a nurturing tree. This is the blurb I wrote to accompany the photo of my piece Her Roots Go Down on the website and in the book:

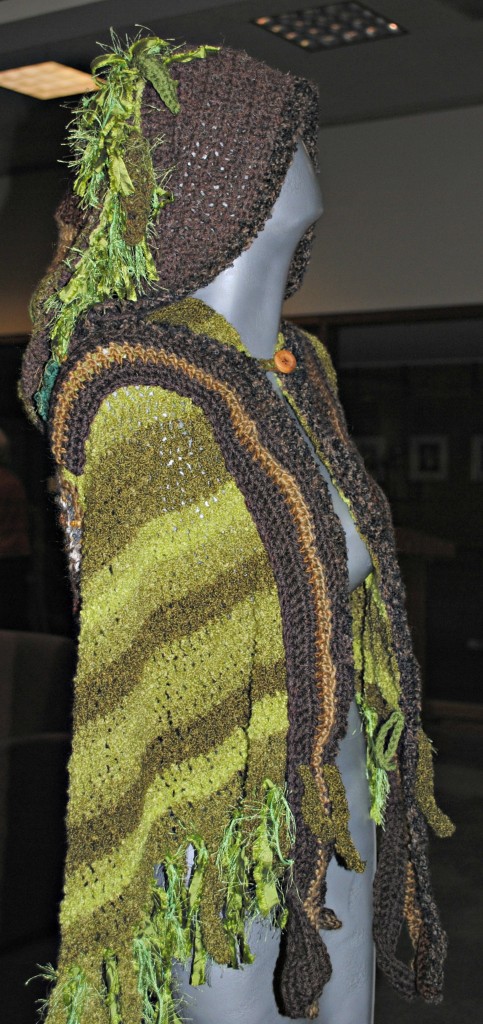
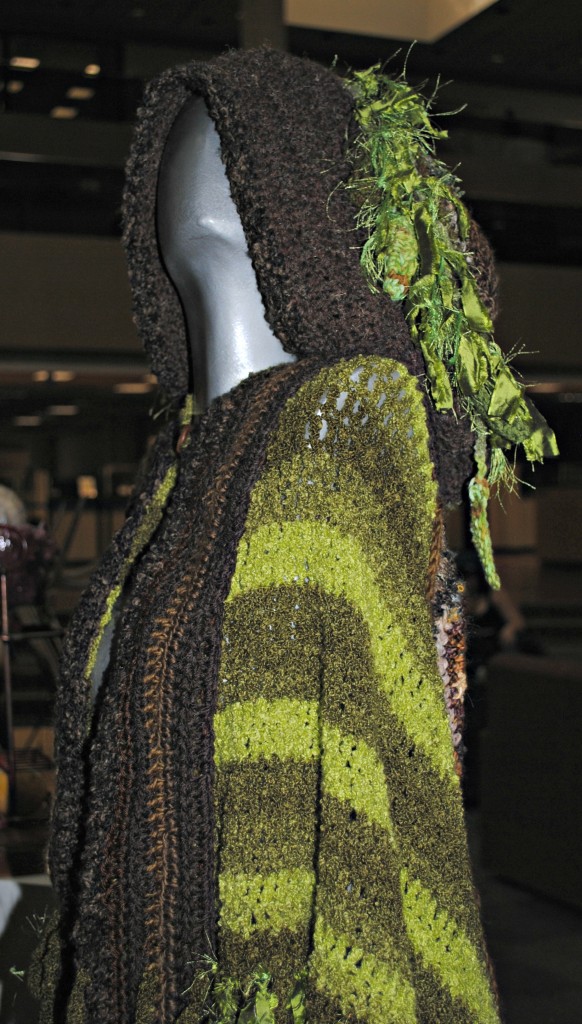
I have felt a special affinity for trees since I was a child. I picture Mother Earth as a stoic, nurturing tree with strong roots to ground her, and branches to embrace the wind, provide cooling shade, and a safe home for wildlife. My entry this year is my homage to the funky pictorial and organic freeform crochet of the 1970s and to expressions of native folk art. With just a crochet hook, I can create anything my imagination dreams up.

The name was inspired by a Sarah Pirtle song titled “My Roots Go Down”, which I remembered from when my children were small. I found a version of this song on YouTube by The Seedy Seeds, and it’s rather nice. It’s folky and sweet, and you should listen to it.

I entered Her Roots Go Down in the juried Ventura County Arts Council art exhibit, Tactile: Art to Be Touched – GentlyThe reception for the exhibit was on Friday evening, June 14, 2013. Awards were given for first, second, and third places, as well as three honorable mentions. I won Third Place, which also included a monetary award.

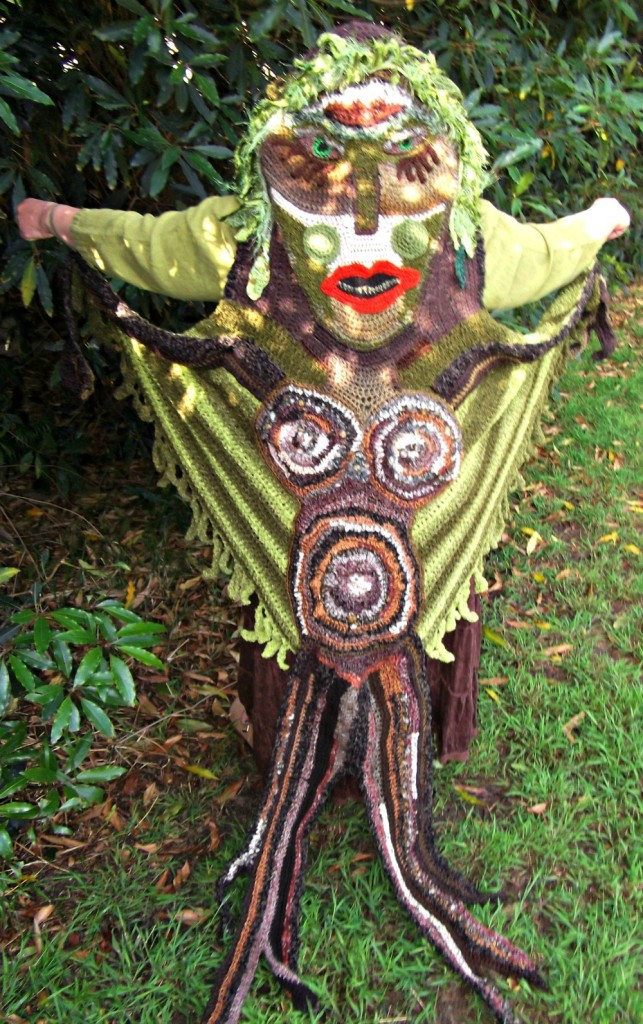
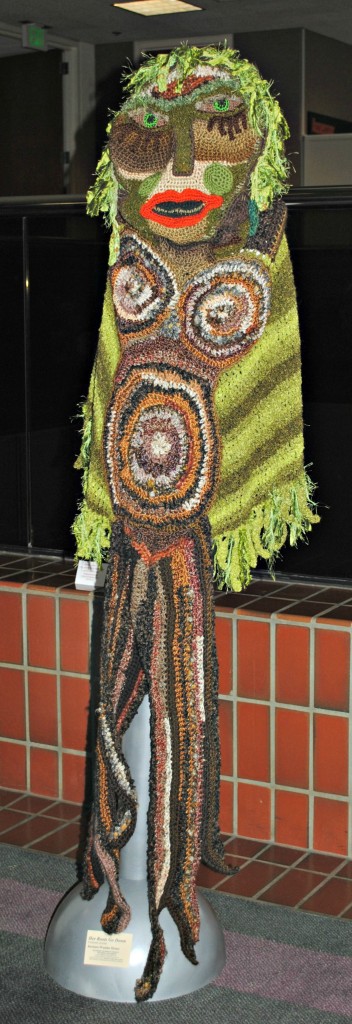
Here are photos of the piece: one of me modeling it, and the rest are of the display at the art exhibit. (I purchased the armless artsy mannequin from my friends at Green Art People in Ventura, and I spray painted her with hammered silver finish paint.)

HRGD6

HRGD1

HRGD4

HRGD2

HRGD3

Sandy Starkman shirt alteration

Sandy Starkman top

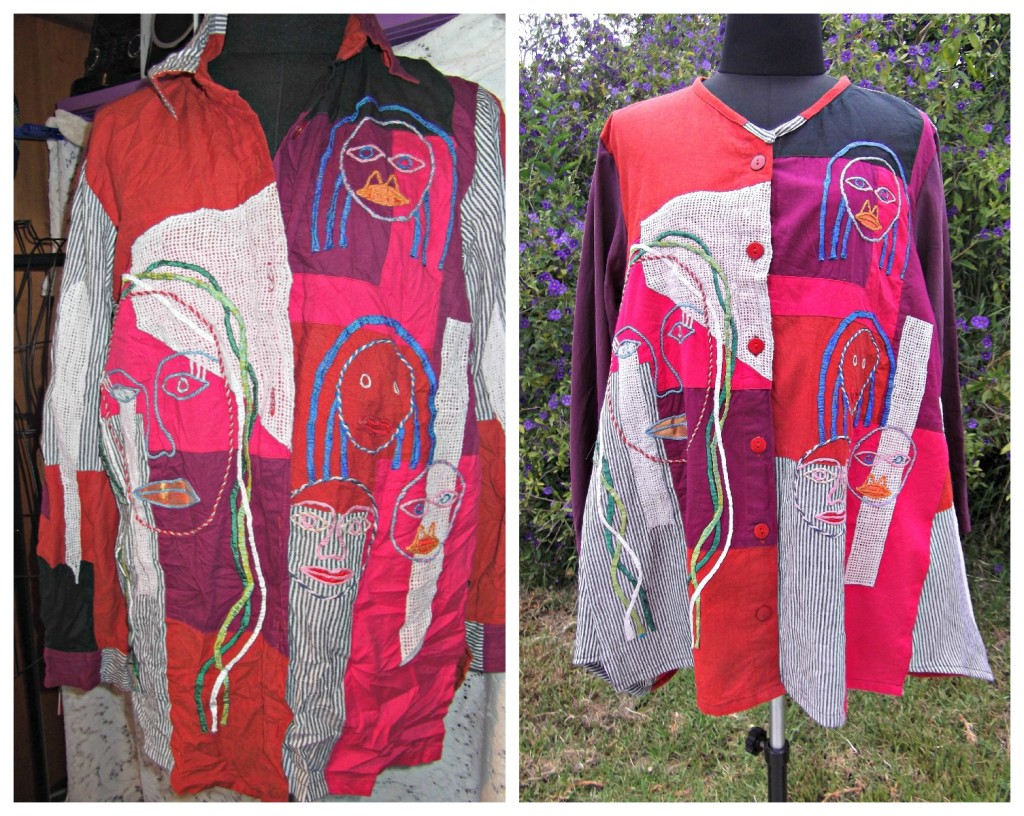
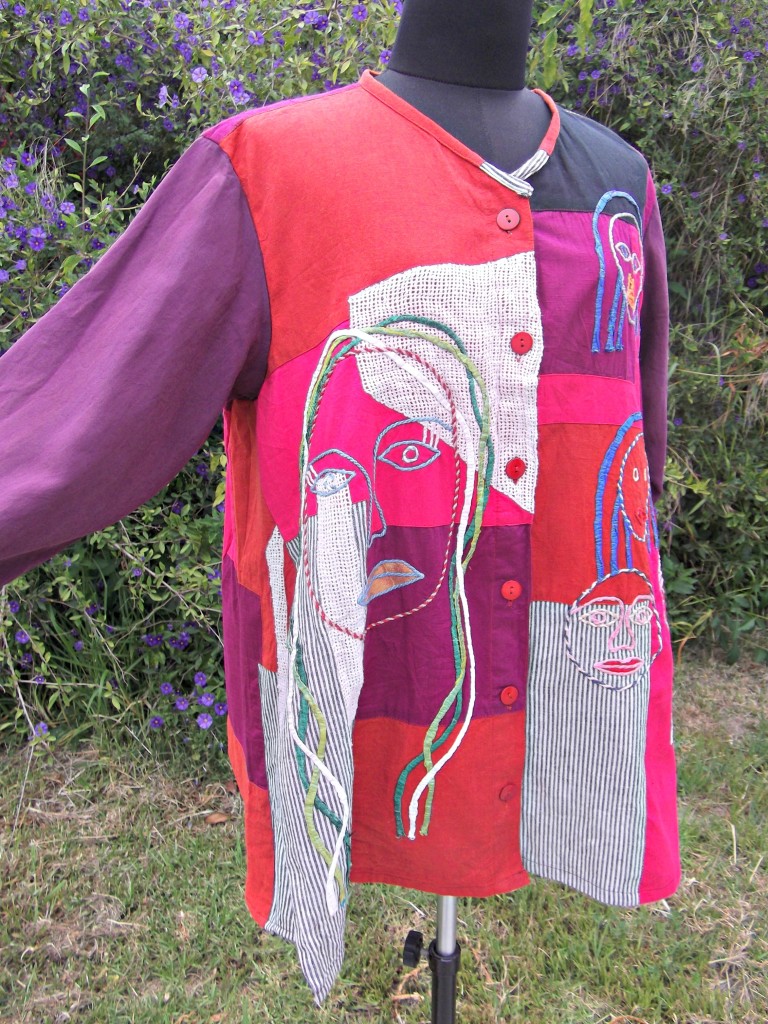
Recently, my local 99 Cent Only store has been selling clothing from a small rack. Two months ago I found this Sandy Starkman shirt in size Small. I knew it wouldn’t fit around my hips, but it was too cute and funky to pass up for 99 cents. I could see that it had possibilities!

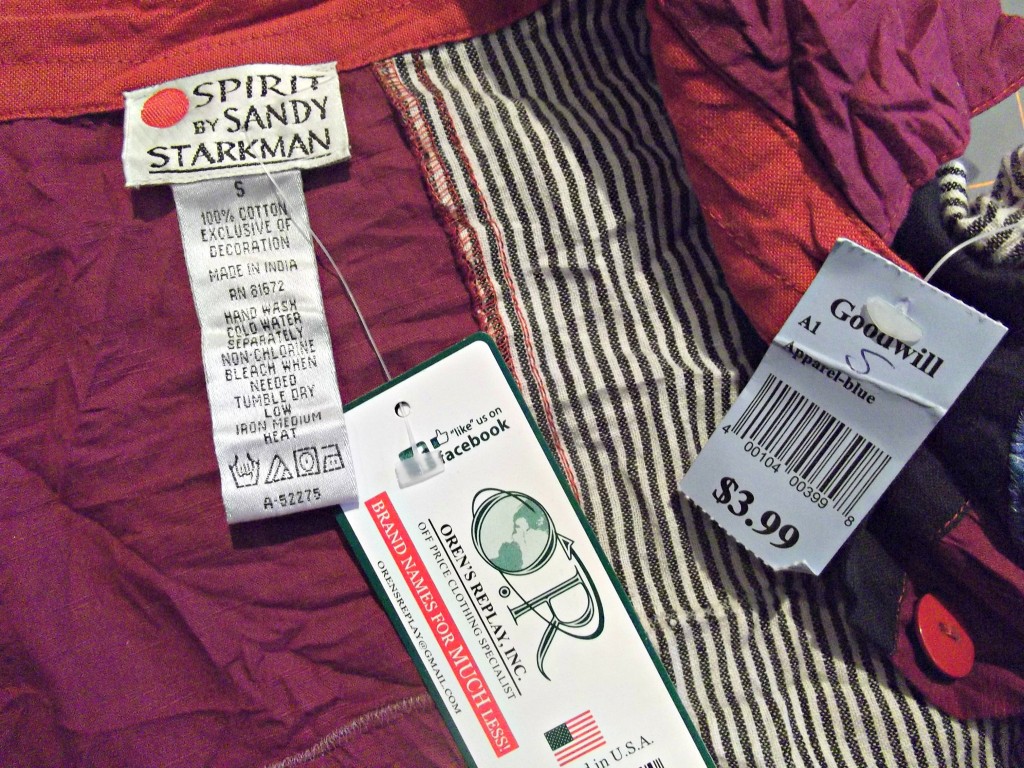
shirt label and tagsApparently, the shirt was originally from a Goodwill store somewhere, and was part of a remainders bulk purchase by Oren’s Replay, Inc. I Googled them, and they are a liquidation company, selling primarily at 99 Cent Only stores.

sleeve alteration1

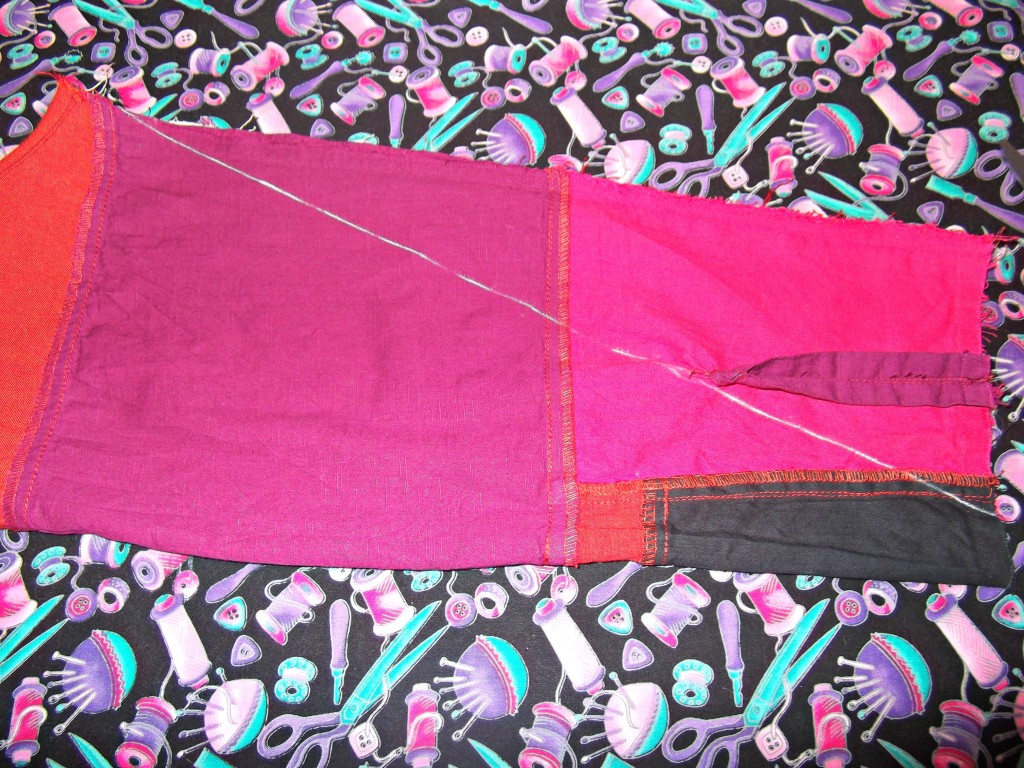
With my trusty seam ripper in hand, I took off the collar, sleeves, and cuffs. I also ripped out the side seams and the hems. I took a sleeve, folded it right sides together, and drew this diagonal chalk line. I cut on the chalk line. I then used the first sleeve as a pattern for the second.

sleeve alteration2

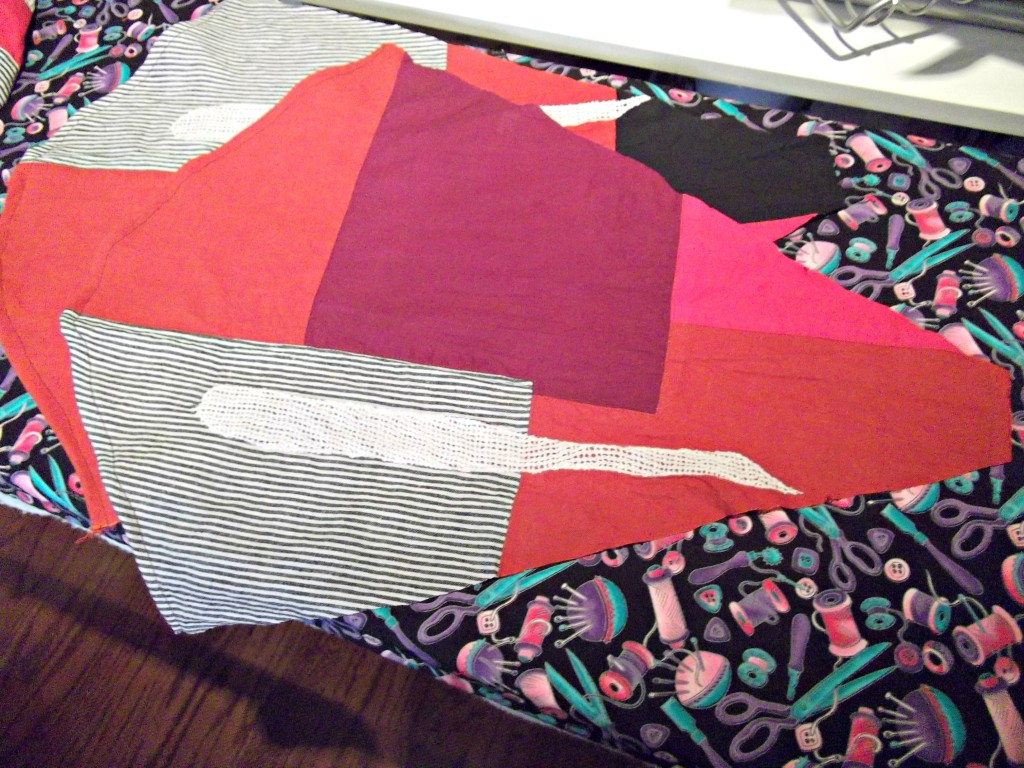
Then I hemmed the sleeve caps, because they would now be at the bottom edge of the shirt.

shirt side view

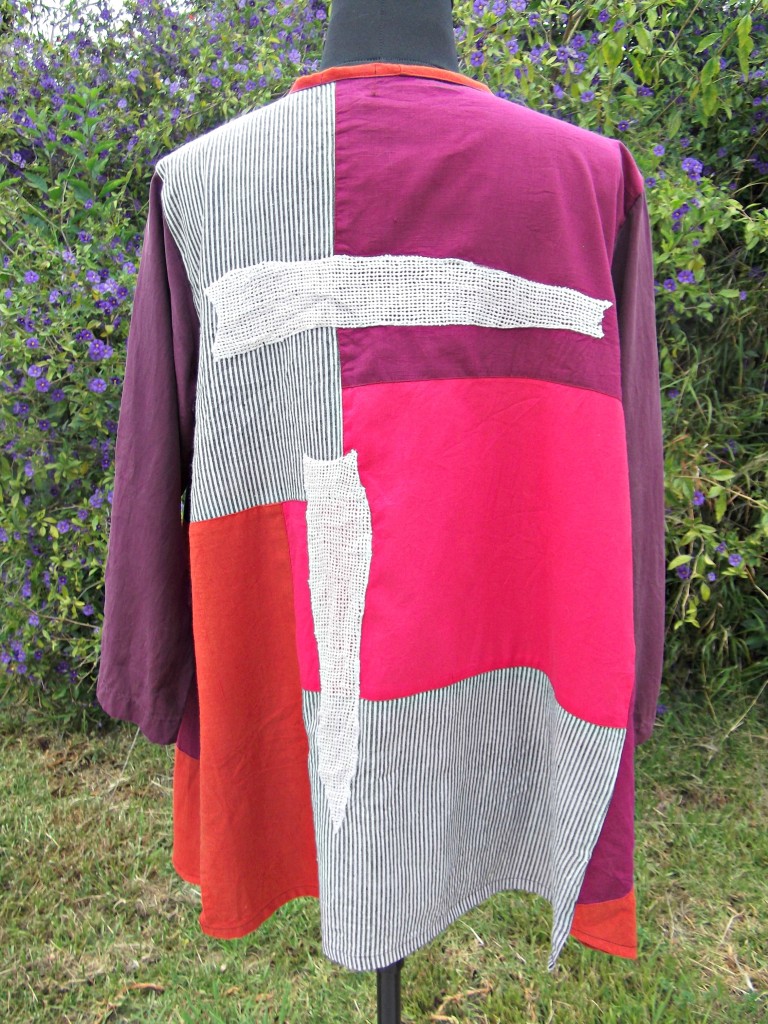
You can see that the shirt is a bit longer than the inserted upside down sleeves, but I consider that a design element. I had ripped out the shirt hems because I didn’t like the thread color, and the stitching was a bit wonky. I re-hemmed the front and back of the shirt before attaching the inverted sleeves to the side seams. I took the sleeves off a thrifted purple silk shirt and used them to replace the sleeves. I used scraps from the sleeve trimming to make a neck band.

back view

Here is the back view, which I did not change. Now this shirt fits comfortably and it’s more my style. All for 99 cents and a little bit of time and ingenuity!