Altered Artwear Pinterest Challenge 2016

I’m the admin for the Altered Artwear group on Facebook. I create challenges for the members every few months to, well, keep us challenged. I called for our second annual Pinterest challenge, ending today, May 31. This is what I created!
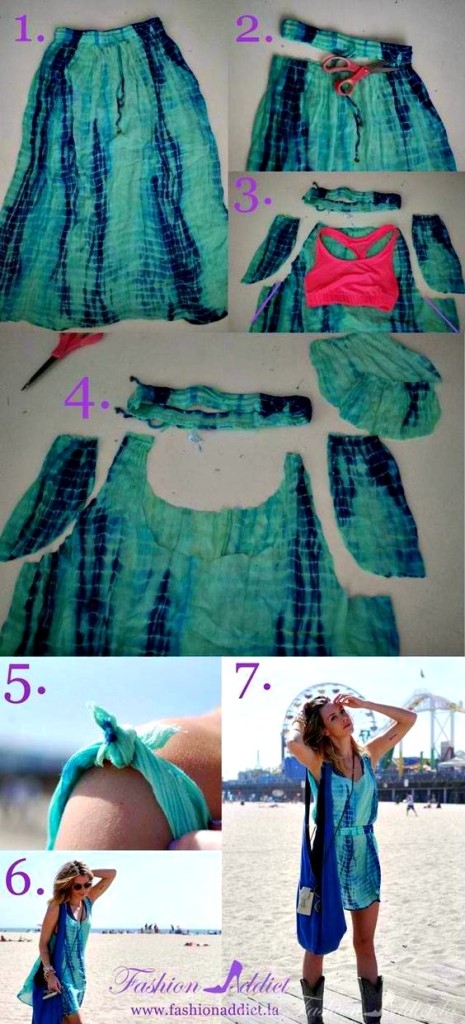
pinterest challenge pin

This challenge is pretty straightforward: Choose an altered garment or accessory pin from Pinterest and do your own interpretation. I discovered last summer when we had an ongoing heat wave in southern California that I don’t own enough loose, lightweight summer dresses. Also, long flowy boho skirts are plentiful in our area thrift stores. I chose this pin because I like the light gauzy fabric of these skirts and I thought I would try making a summer dress from one.

SK2DR 1

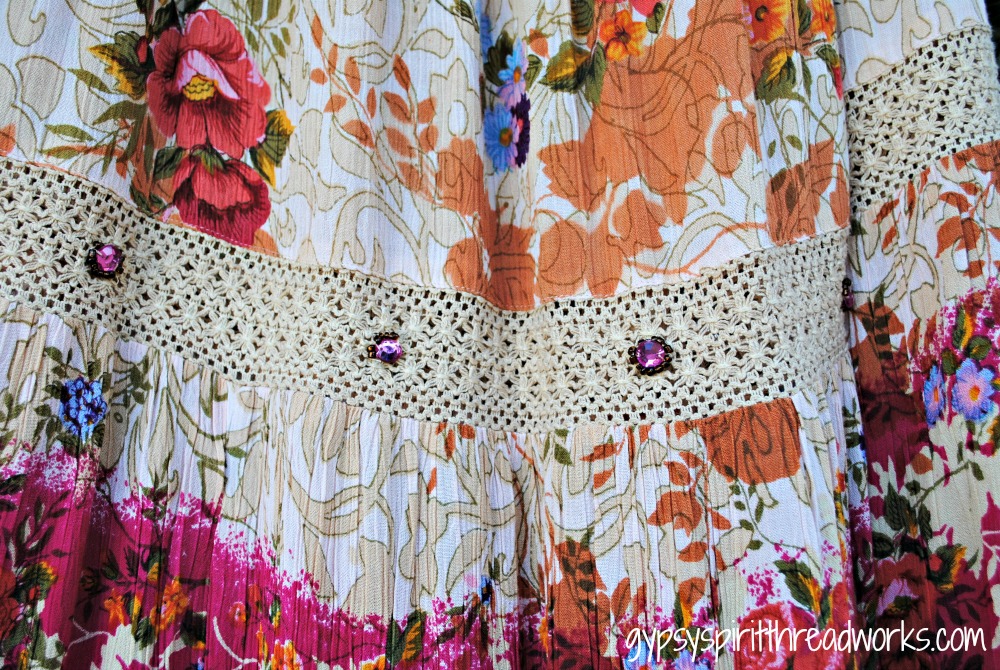
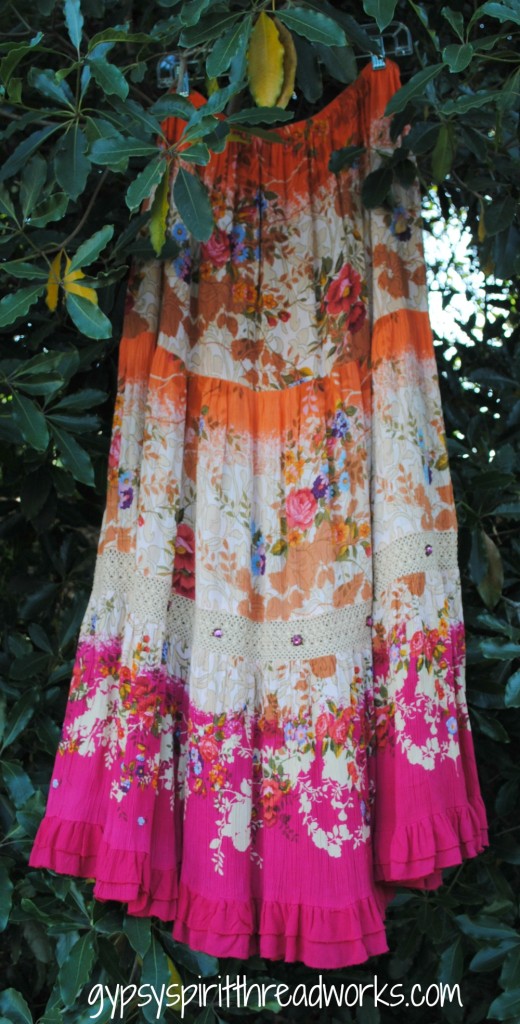
I found this long rayon skirt in a bin in the backroom of my nearest Goodwill on 50% off night. I think I paid $2.50. It was a lengthy 42″ from waistband to hem, and being only 5’3″ myself, I could have hiked it up under my arms and it would have still been a maxi skirt on me. But the good thing about long skirts is that they have lots of fabric to work with!

SK2DR 2

I liked the lacy faux crochet band and the plastic gem detailing. And the colors! So cheerful. So summery.

SK2DR 3

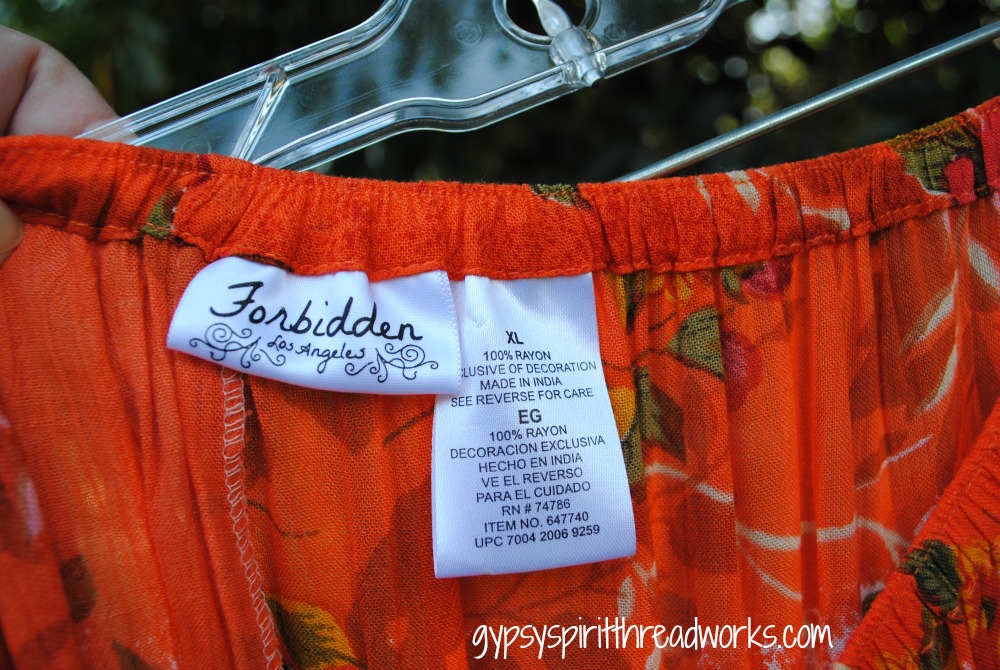
The label Forbidden cracked me up. What does that mean? Am I forbidden to cut up this skirt? Will I be cursed for life? Nah, probably not. Here comes the sewing scissors!

SK2DR 4

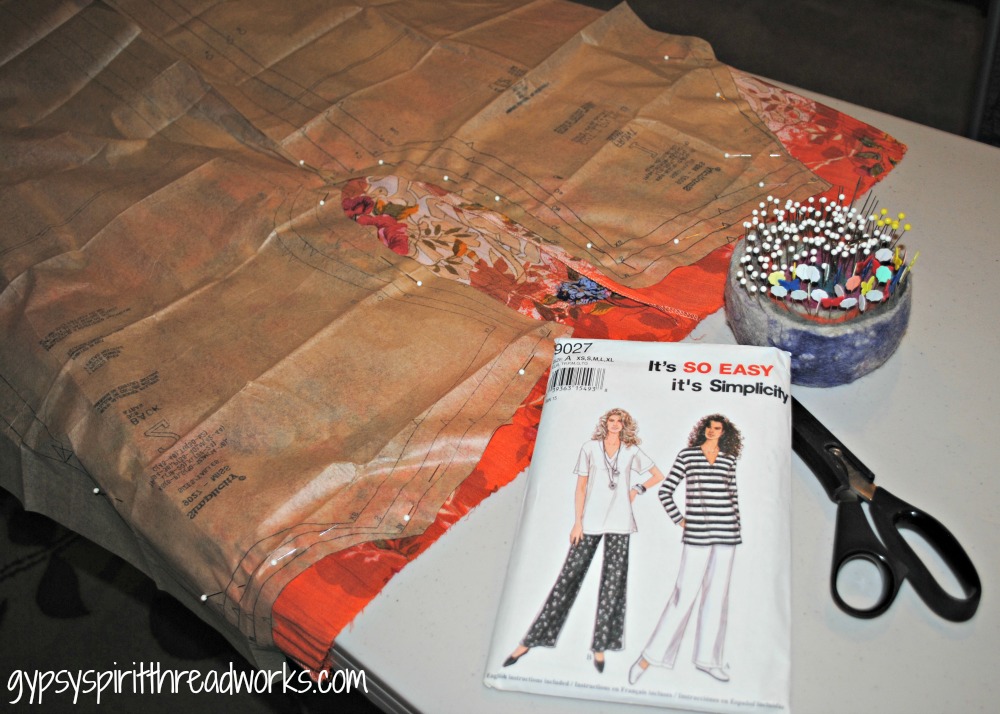
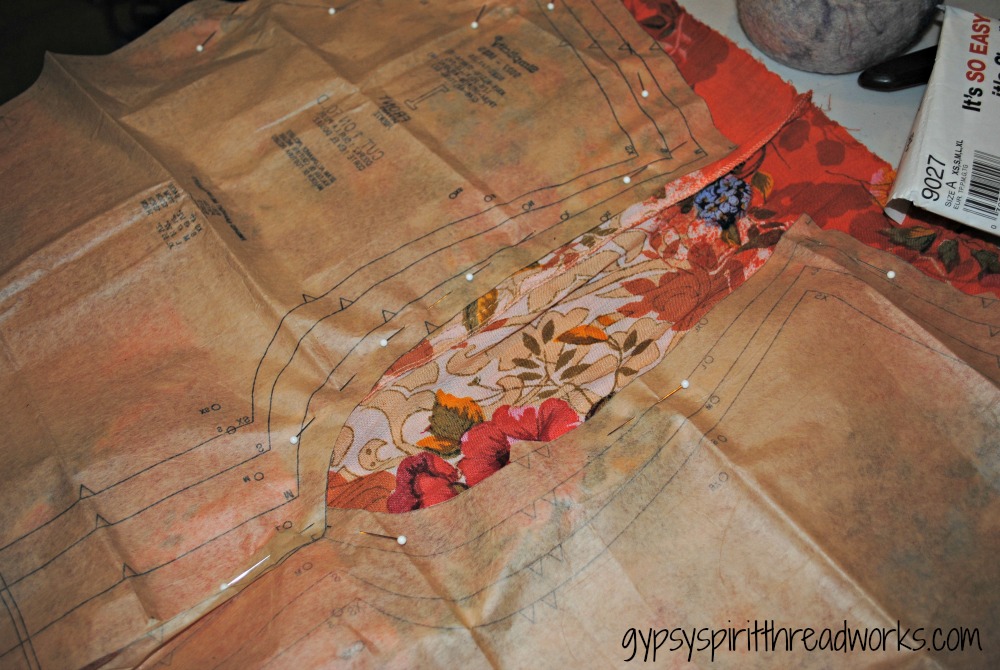
I looked through my pattern collection and chose this Simplicity pattern from the mid-’90s because I like the V neckline and the short sleeves. Also, both front and back pieces are cut on the fold. I cut off the elastic waistband, tags, and hanger loops, spreading out the skirt inside out and pinning the front and back pattern pieces on the folds. I lined up the back seam of the skirt with the back of the dress. I pinned close to the top edge, utilizing as much fabric as possible.

SK2DR 5

I joined and overlapped the underarm seam allowances on the pattern with a pin, so the sleeves would fit properly, as I wasn’t cutting side seams.

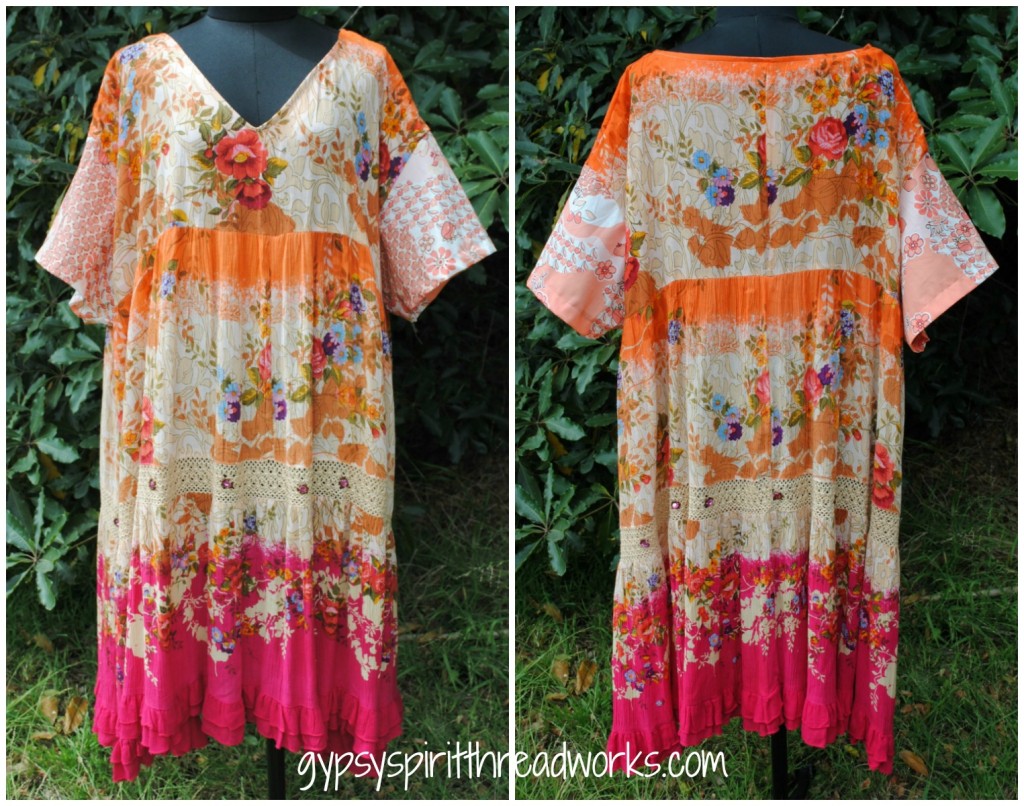
I have a finely woven lightweight cotton print in my stash that I picked up in the L.A. garment district several years ago, and I knew it would be perfect for the sleeves and neckline facing. Using my Bernina 1260 and my Juki serger, I sewed the shoulder seams and attached the sleeves and facing. It was very quick and easy. The first gathered tier of the skirt hits under the bustline ever so perfectly, like a yoke. Like I planned it!

SK2DR Collage

Now I have a new light and flowy summer dress which only cost a few dollars and a few hours of my time. I’m ready for you, heat wave!
 

Marmalade Skies for Mug Shot Portrait Show

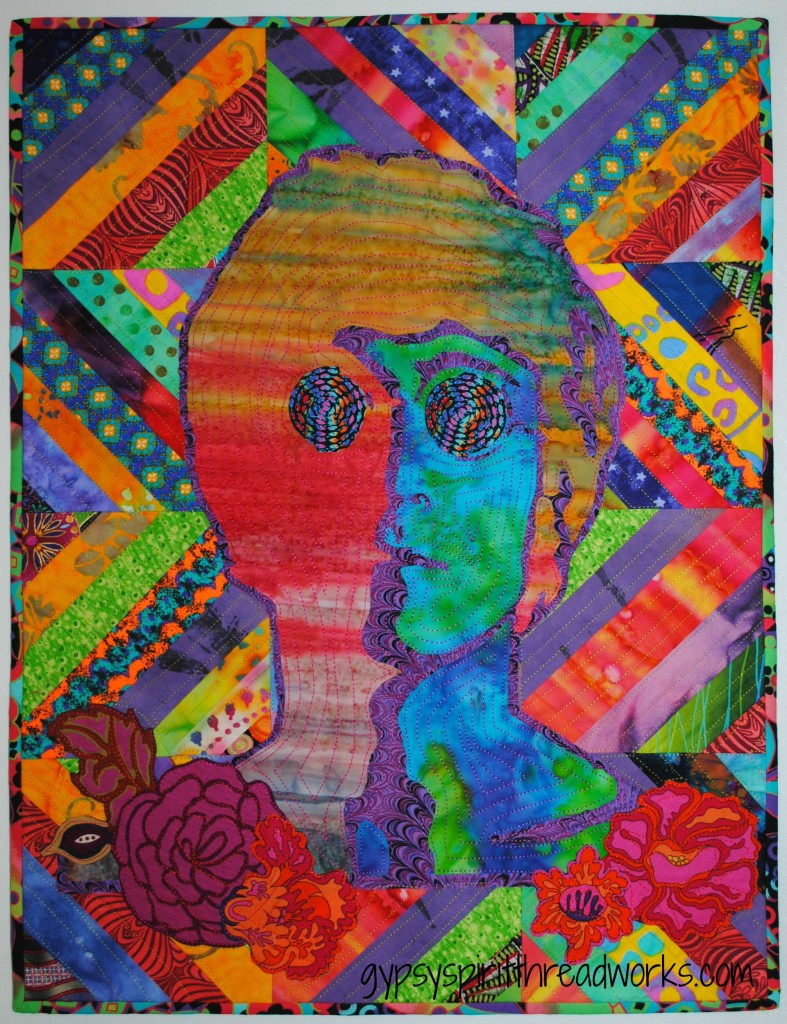
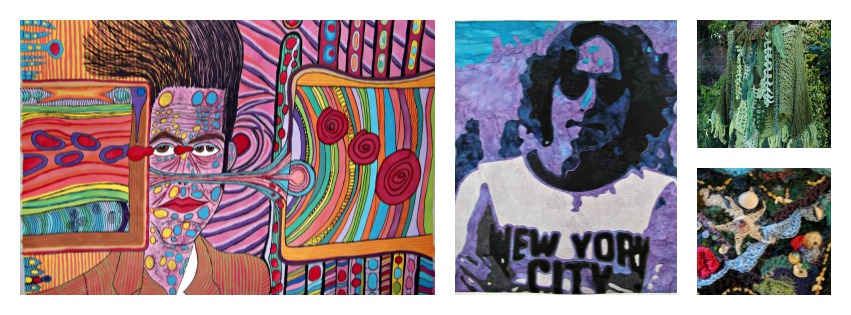
Marmalade Skies, studio quilt, 18x24"

Marmalade Skies, studio quilt, 18×24″

This is my latest work, Marmalade Skies, created for the Mug Shot portrait art show at Stoneworks Studios and Gallery, Ventura, California on First Friday, April 3, 2015. It is, at its very essence, a scrap quilt. I had a lot of fun putting it together. I finished it in the wee hours of April 1, and when I awoke, I found out that Cynthia Lennon had passed. Kind of cosmic. (I have a public photo album on Facebook, if you’d like to see the show.)

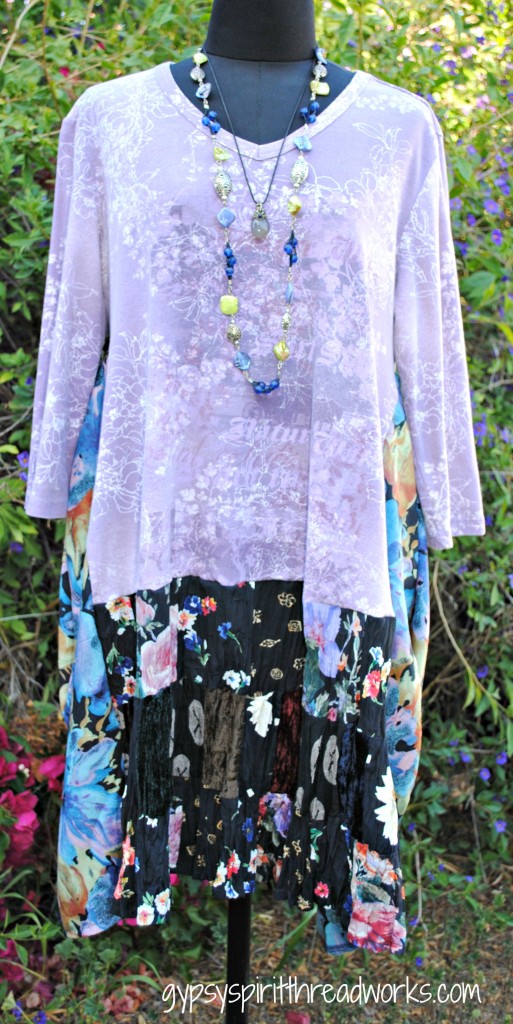
Yesterday afternoon I decided to make a new upcycled and altered dress to wear to the show. I made this in about an hour. Using a serger makes all the difference.

Upcycled/Altered Dress

Upcycled/Altered Dress

Altered Artwear Pinterest Challenge

Pinterest Challenge March 2015

I moderate a group on Facebook for creative people who enjoy altering and upcycling existing garments. Many of us are also Pinterest enthusiasts. I called for a Pinterest Challenge, encouraging members of the group to select an inspiration garment or accessory from Pinterest and create one of their own.

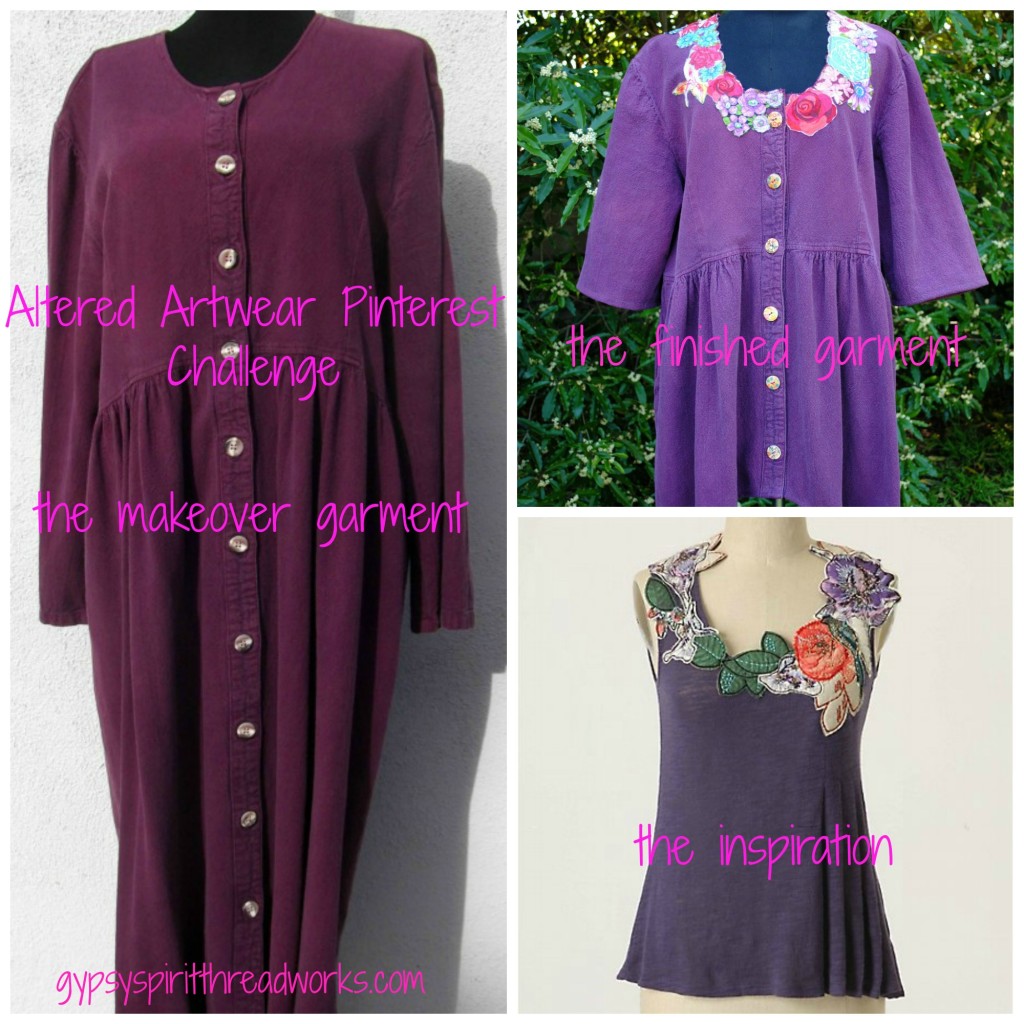
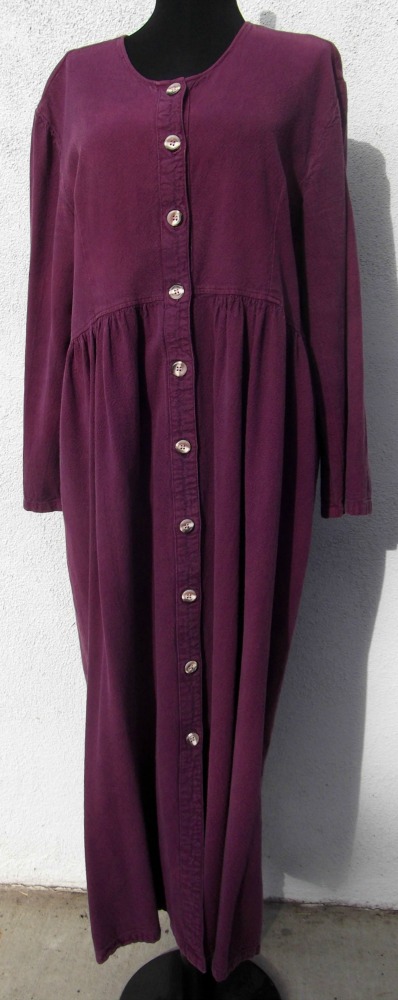
I have had this long sleeved, ankle length cotton purple dress for a long time. Once upon a time, I even wore it in its original state. (*shudder*…what was I thinking?) It was a thrift store purchase, but I was fond of it because (1) it’s purple, my favorite color; (2) it’s a heavyweight 100% cotton, made soft by numerous washings; and (3) it has pockets. I saved it because I thought I could restyle it and make it cooler. I call it the “Sister Wife” dress, because when I put it on, I feel like I should be in some isolated polygamist sect somewhere in the desert.

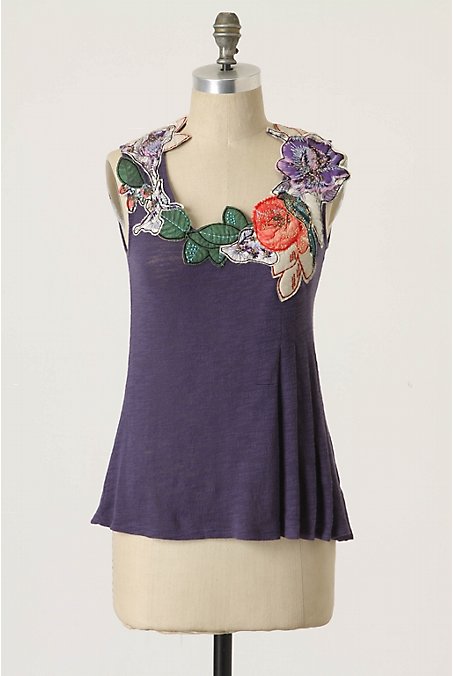
Then I pinned this inspirational photo from this blog, which is a top from the retail chain Anthropologie. It features raw edge appliques fussy cut from fabric around the neckline.

pinterest challenge 1

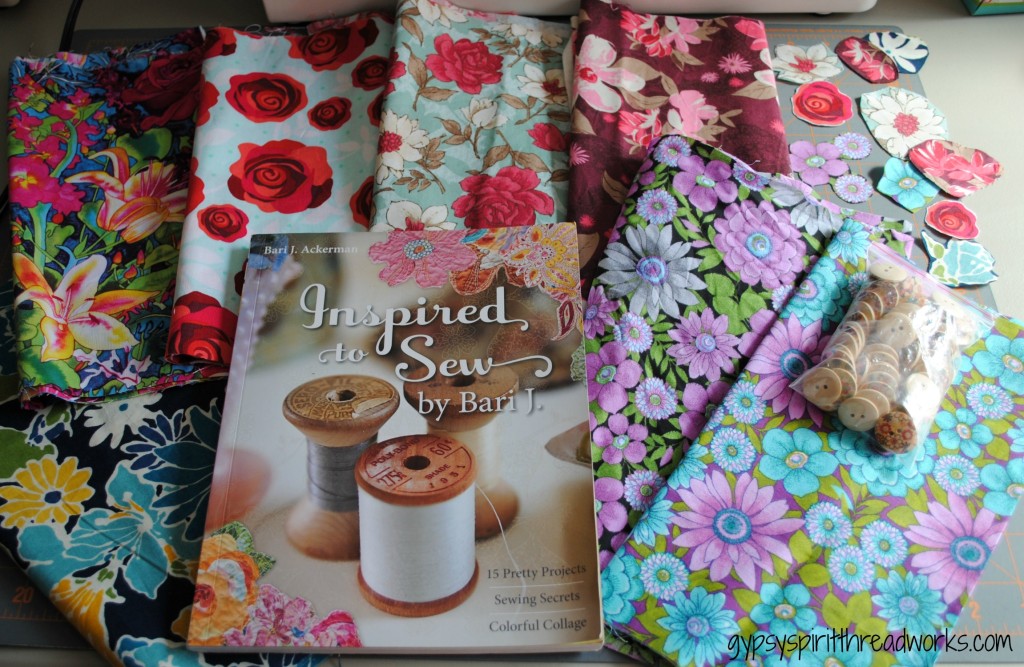
I decided to try out this technique on the neckline of the dress. Then while browsing on Amazon, I came across a book that features this technique by Bari J., so I bought a used copy. I went to Jo-Ann’s and bought a variety of cotton fabrics with medium to large floral motifs which could be fussy cut and used as appliques. I had some lightweight wood or bamboo buttons with floral motifs that I purchased on eBay.

book and fabric

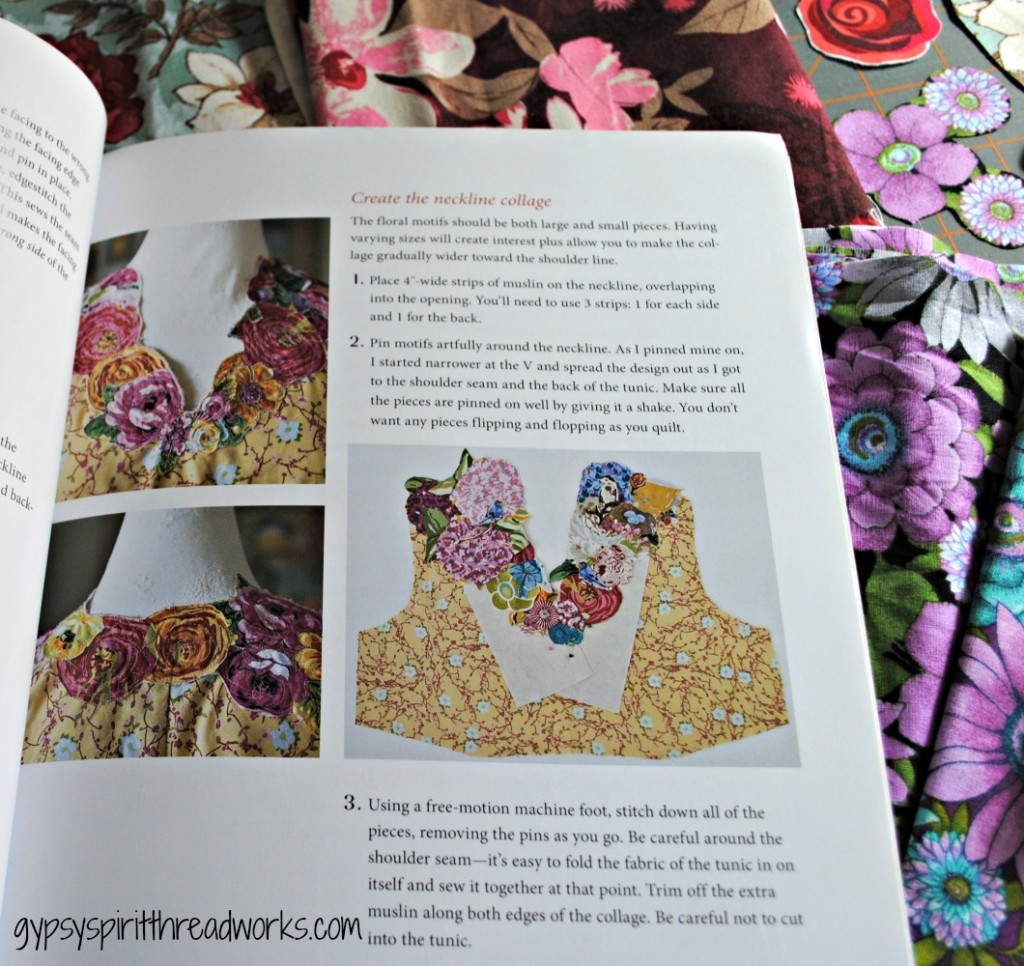
The book has a project where the neckline is transformed by this technique. I was tempted to use fusible web, but she said don’t use glue sticks or fusible web to hold the appliques in place, just use a lot of pins. So for once, I actually followed instructions. I didn’t use the muslin underlayer because the base fabric of the dress had enough body on its own. I would definitely use it on a lighter weight fabric.

book and fabric 2

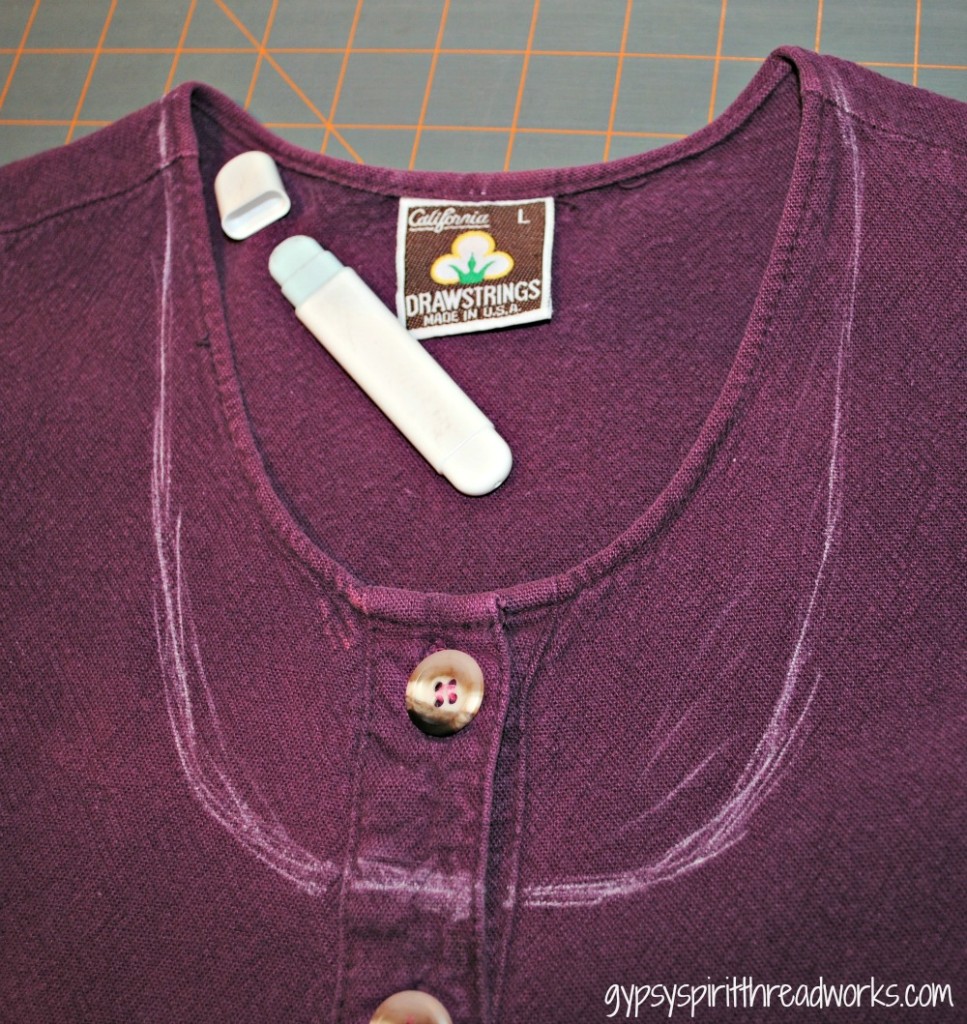
First I put the dress on, looked in a mirror, and using my handy chalk wheel, I marked the new neckline. Then I placed it on my worktable and evened it up a bit.

pinterest challenge neckline

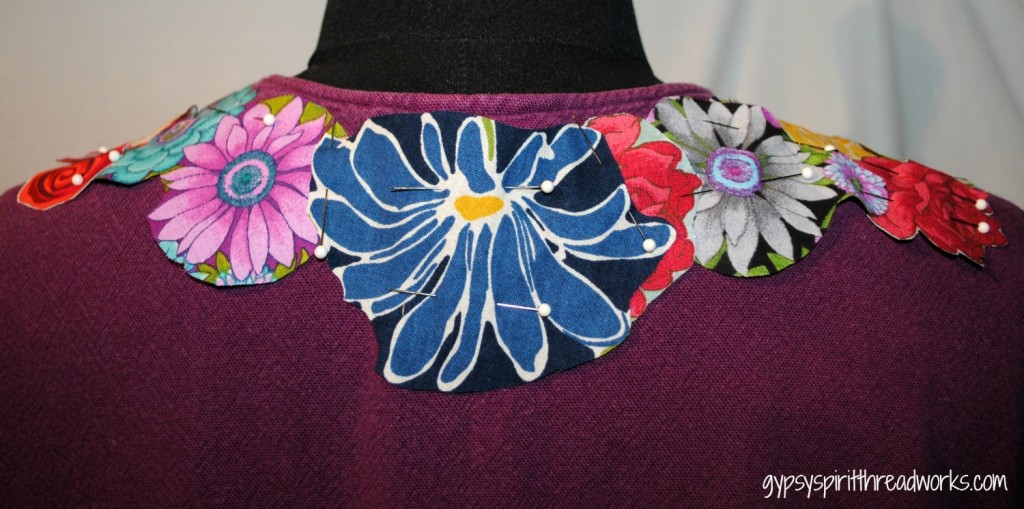
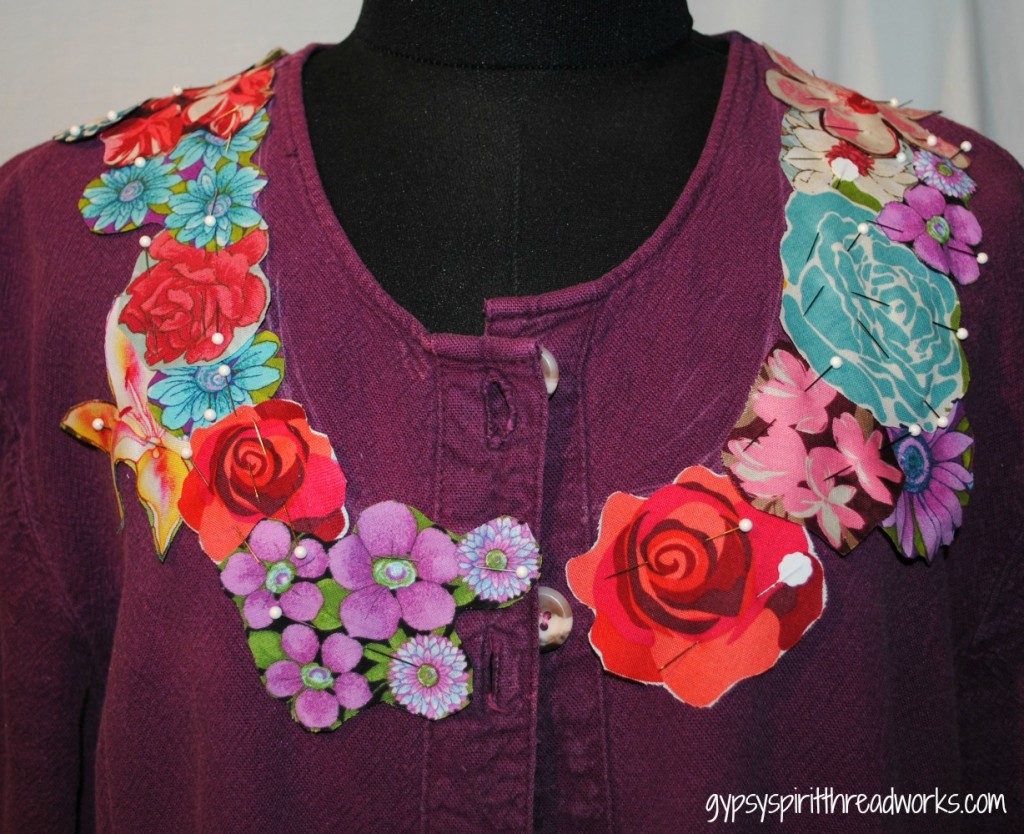
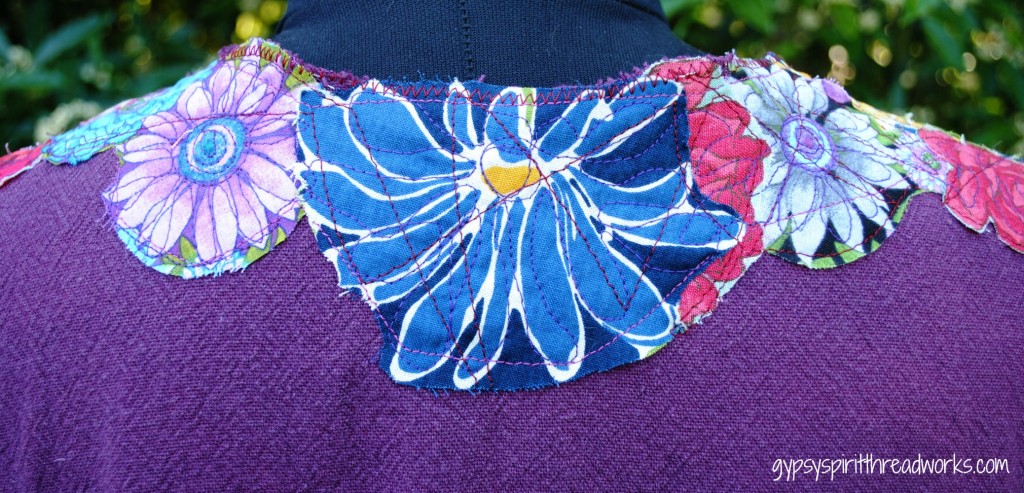
Next I cut out a bunch of floral motifs from the fabrics, and starting at the middle back neckline, I started arranging and pinning along the chalk lines. Notice how I worked around the front buttonhole.

neckline back pinned

pinterest challenge neckline front

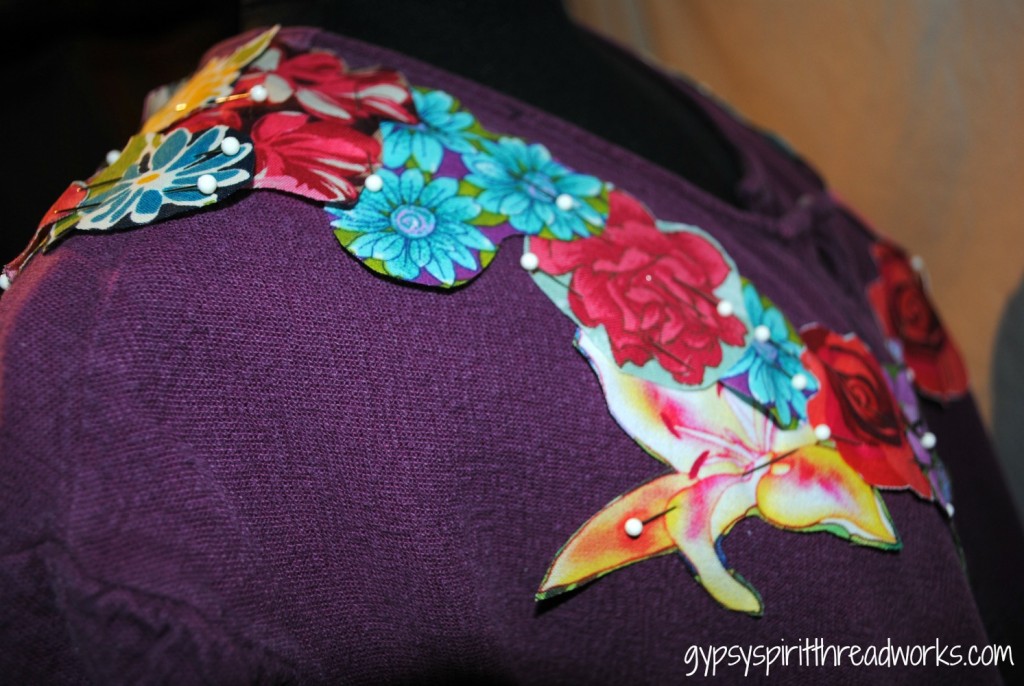
shoulder detail pinned

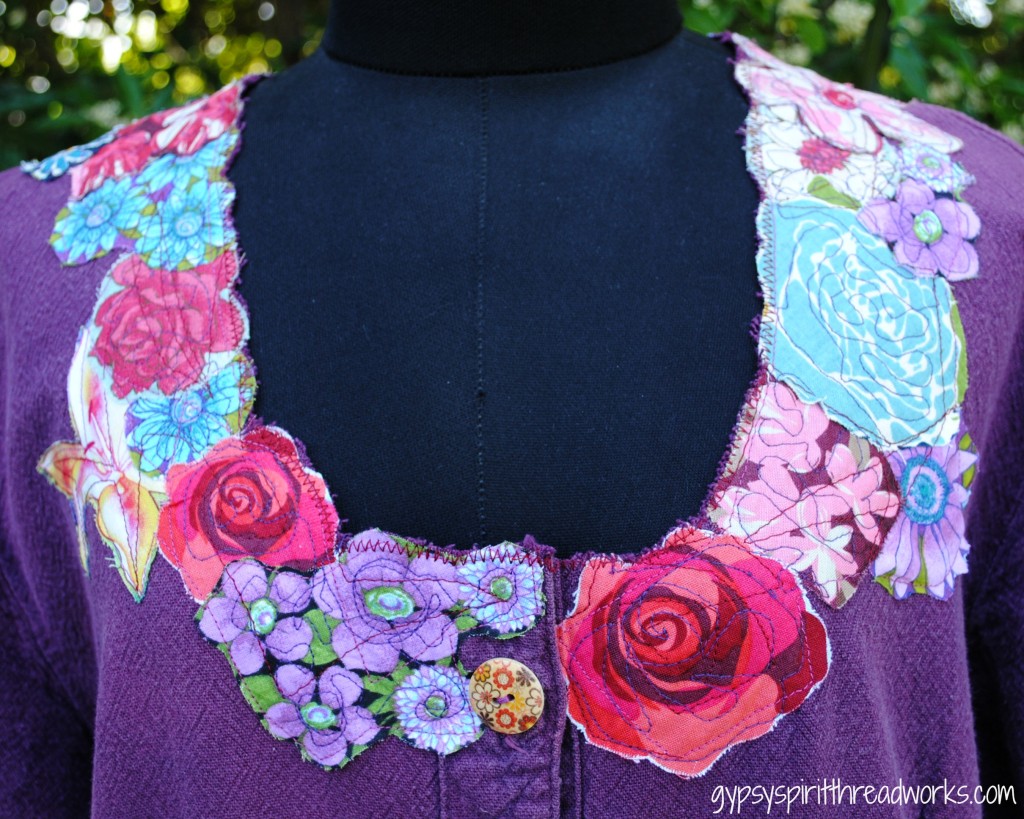
Then I stitched the motifs down, not caring about anything but keeping the motifs as flat as possible, and getting them stitched down into place. Once I had all of the appliques sewn down, I used several other colors of thread to keep passing over them. Knowing that the edges would fray, I sewed close to all of the edges. I used regular straight stitching until the final round of stitching, when I used a darning foot and dropped feed dogs to embellish with free motion stitching, accenting the petals and making swirly designs. I cut the neckline edge of the dress along the lines of the appliqued motifs and then zig-zag stitched along the entire neck edge.

front applique detail

back neckline sewn

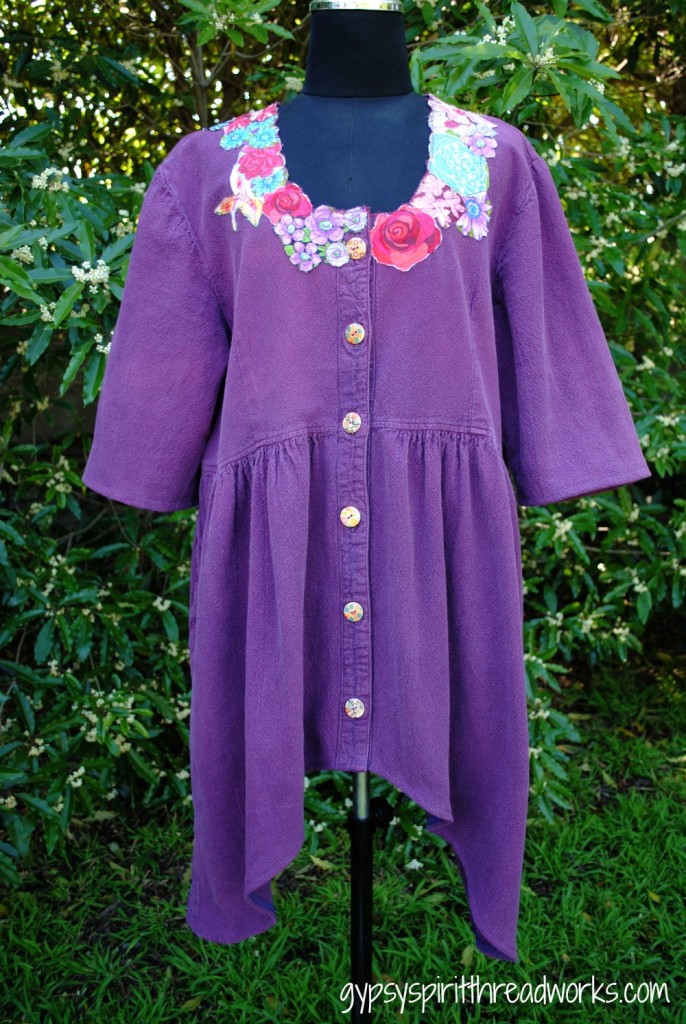
I cut and hemmed the long sleeves to just below the elbow. I reshaped and cut the hem, making it tunic length with sidetails. (Helpful hint: draw with chalk, cut one side and then flip it over and use it as a pattern to cut the other side so they match.) I replaced the dreary plastic buttons with my pretty floral motif buttons.

altered sister wife dress

The finished dress/tunic. It looks more purple here, but it’s actually a deep plum. The process photos taken in my studio indoors more reflect the true color. I like it! I’ll be getting a lot of wear and enjoyment out of my transformed “Sister Wife” dress.